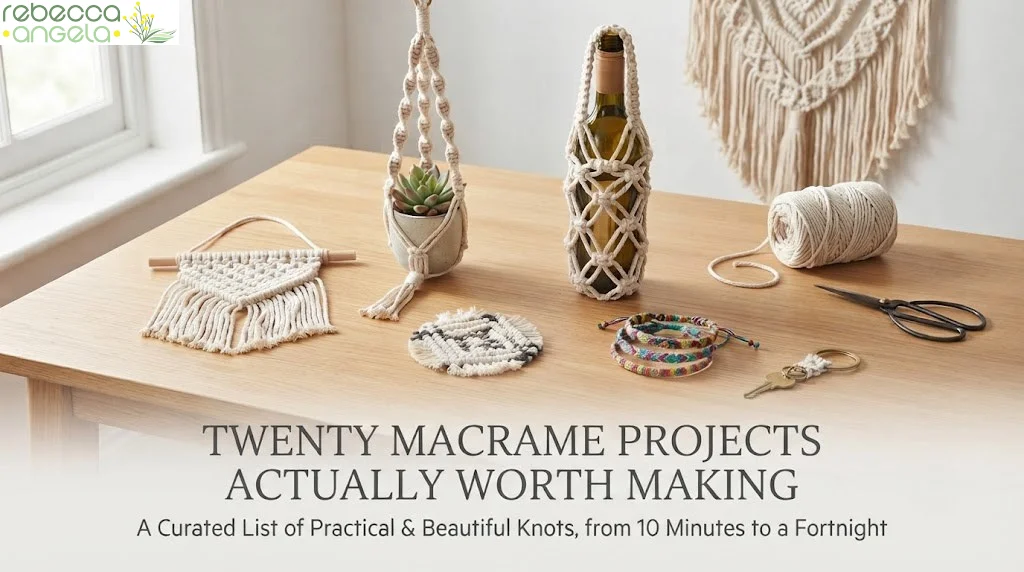
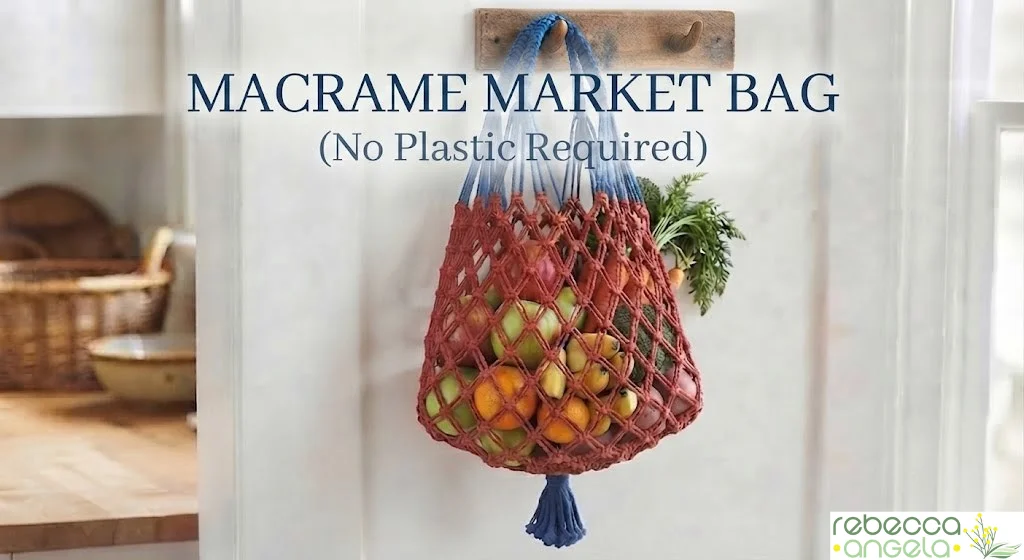

I have a drawer. You probably have one too.
It contains: eleven reusable shopping bags, several of them promotional, none of them ever in my car when I am actually at the shops. There is also a collection of those flimsy plastic produce sleeves that I keep meaning to stop taking and keep taking anyway, because the alternative is carrying six loose apples to the checkout like a woman who has made poor decisions.
So when I went looking for the next thing to knot, a market bag seemed almost too obvious.
It folds into nothing. It lives in a handbag. It holds a genuinely alarming quantity of fruit and veg. And it is made from two knots you already know if you have read the knots post — the square knot and the gathering knot. That is the entire skill set.
I have written before about my fondness for a properly useful handmade object. I once managed twenty uses for a tea towel, which tells you exactly where my sympathies lie, and this sits in the same territory. Sustainability is not a side interest for me; a cotton bag that will last years and eventually compost is simply a better object than a plastic sleeve that lasts four minutes.
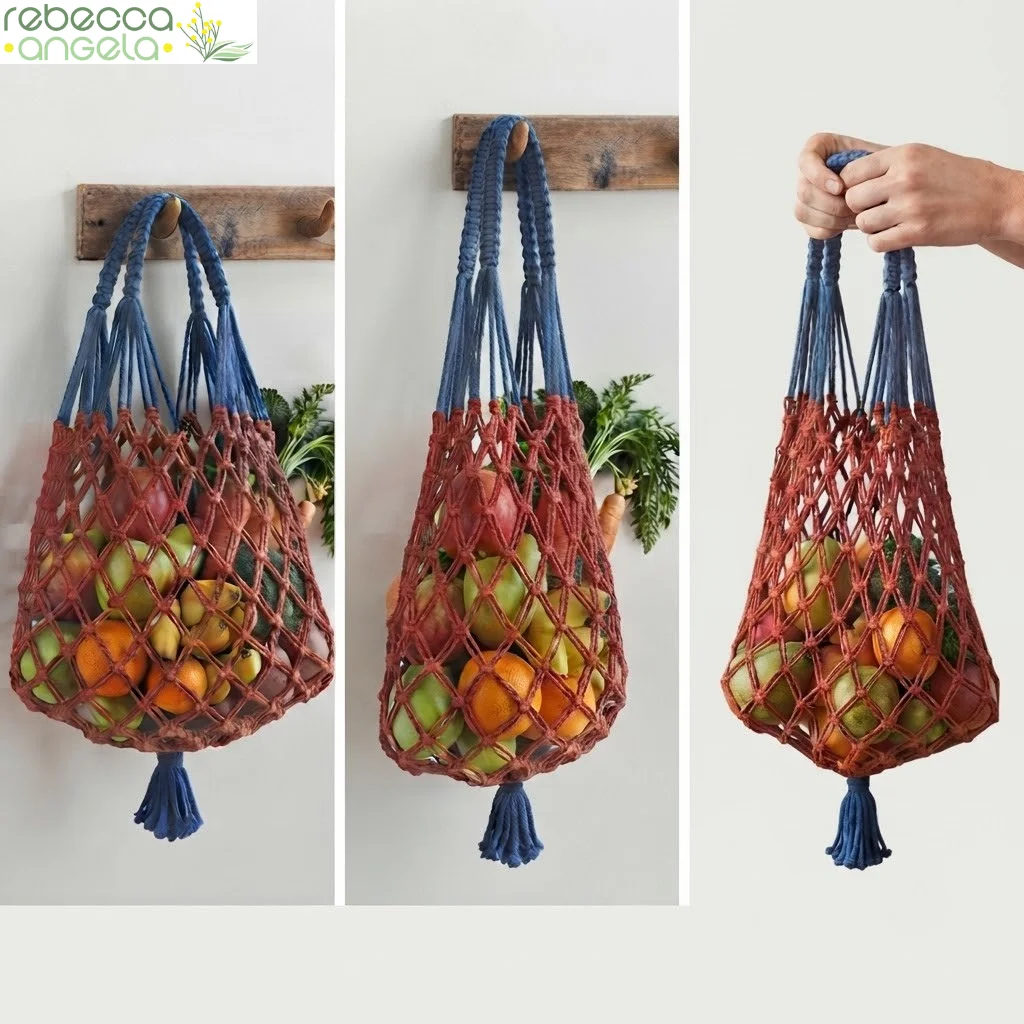
A word on the colours. I made mine in blue and red, which is a long way from the natural cotton I have been using for everything else. The six frame cords are blue and the net is red.
I will be honest — I dithered. Natural is safe and it hides uneven tension. But a market bag is not a wall hanging; it is going out into the world, into a trolley, onto the kitchen bench, and there is something about a bag in proper colour that makes it feel like a thing you chose rather than a thing you made because you had cord left over.
Do use natural if you prefer. But if you have been eyeing a colour and talking yourself out of it, this is the project.
So, on with the tutorial…
This makes a bag with a net around 35cm deep and a shoulder handle. Adjustments for a shorter handle or a bigger bag are further down.
Materials
- 6 lengths of 4mm cotton cord, each 2.5m — in blue, my frame cords
- 18 lengths of 4mm cotton cord, each 1.8m — in red, these make the net
- 1 length of 1.2m — for the handle gathering knot
- 1 length of 90cm — for the bottom gathering knot
- Sharp scissors
- Tape measure
- Somewhere to hang your work — a coat hook, a door handle, or a clothes rail
That is around 50m of cord in total, so half a 100m roll.
On diameter: 4mm is what I used and what I would recommend. 3mm gives you a finer, prettier bag and takes noticeably longer. 2mm is very dainty and I would not trust it with potatoes. 5mm and up gets chunky and the knots start to overwhelm the thing. There is more on choosing between weights and constructions in the cord and supplies post.
Tip: Braided cord is a good choice here rather than three-ply. It is smoother and stronger and does not fray with constant handling — one of the very few projects where I would steer you away from three-ply.
Instructions
Step 1: Cut your cords
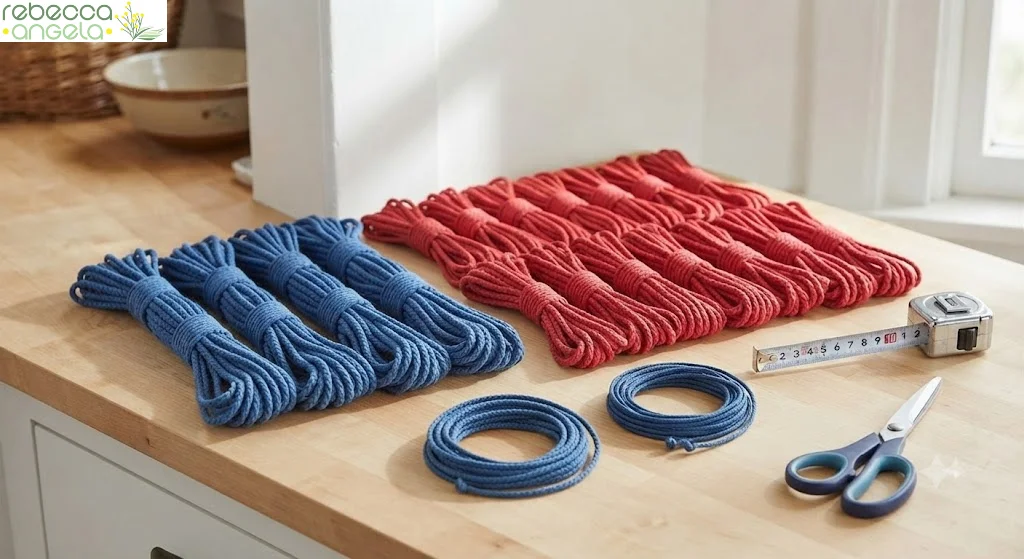
Six blue at 2.5m. Eighteen red at 1.8m. One at 1.2m and one at 90cm for the two gathering knots.
Cut them all before you start. Stopping to measure mid-row is how you lose your place.
Step 2: Make the handle
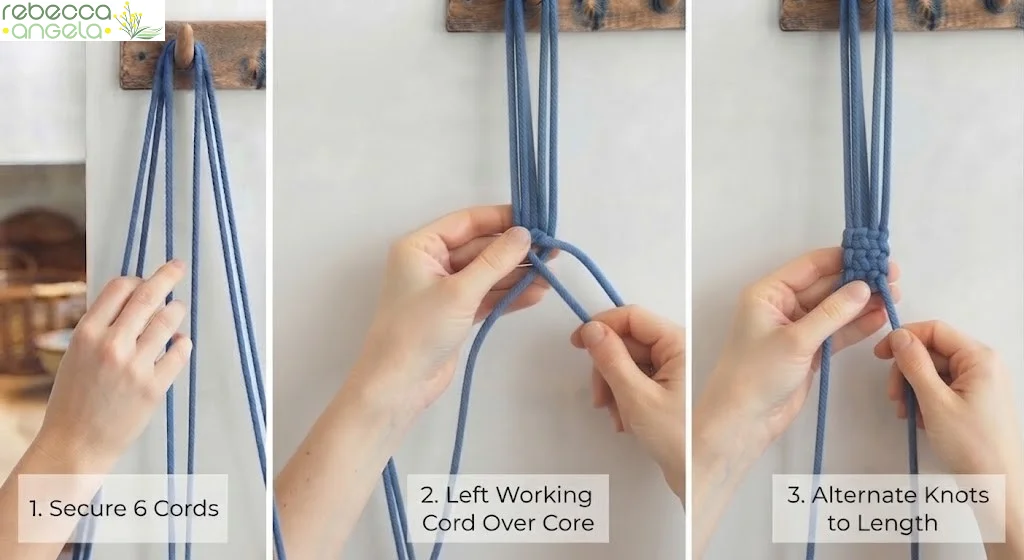
Take your six long blue cords, line them up neatly, and find the centre point of the bundle.
Now form a loop about 20cm long at that centre point — this loop becomes your handle, so its length is your handle length. Hold it folded.
Take your 1.2m cord and tie a gathering knot around the base of the loop, wrapping firmly downwards for about 5cm and leaving the top tail sticking out.
Note: This is the single most important decision in the whole project, and it happens in the first five minutes. The size of this loop is the length of your handle, and you cannot change it afterwards without undoing everything.
A 20cm loop gives a short hand-carry handle. For a shoulder strap you want more like 35–40cm — and you will need to add about 30cm to each of your six blue cords to pay for it, because that length comes out of the bag body.
Decide now. Measure it against your shoulder before you wrap.
Step 3: Finish and centre the handle
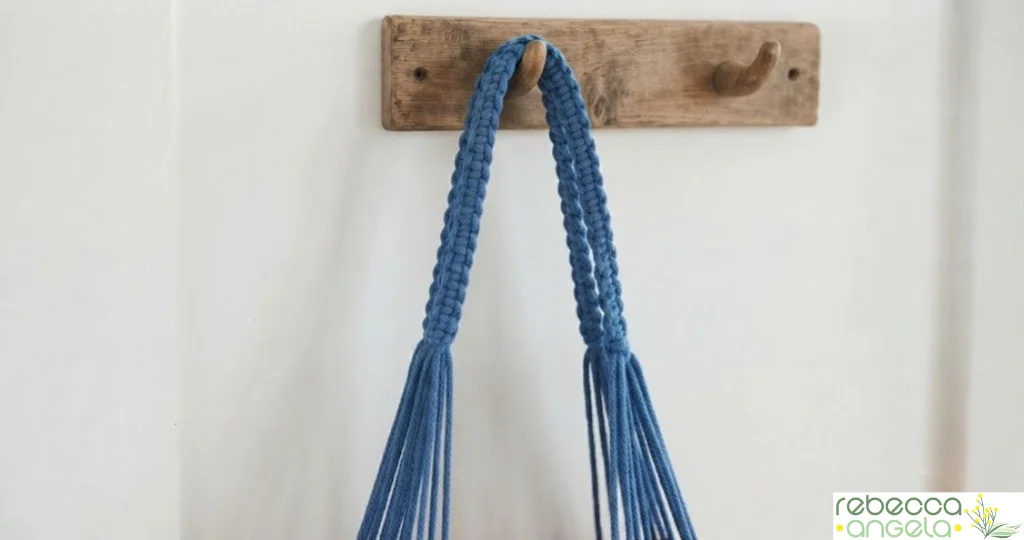
When your wrapping reaches the bottom of the loop, thread the working end through the loop you left, then pull the top tail upwards. The whole thing draws up underneath the wraps and disappears, leaving a clean finished handle.
If you have not met this knot before, it is stepped out with photos in the knots post. It is the same knot that starts and finishes a plant hanger, and it is still the most satisfying thing in the whole craft.
Trim both tails flush.
Now check that your handle sits exactly in the middle of your six cords. If it has shifted, slide it along until it is centred — you want twelve cords of equal length hanging below it. Do this now, while it will still move.
Hang the handle from a hook. Everything from here is easier hanging.
Step 4: The first row of knots
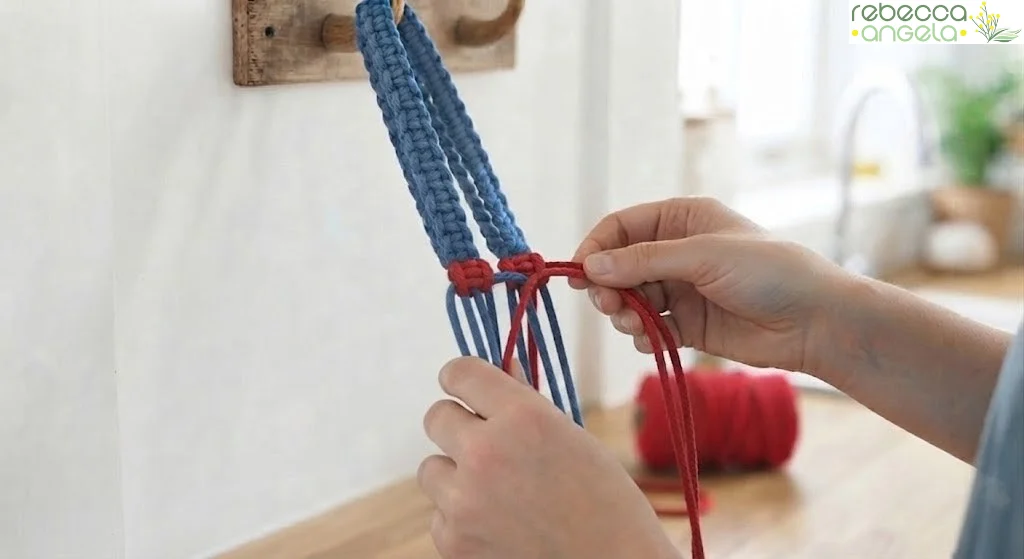
You have twelve blue cords hanging from your handle. Separate them into six pairs.
Take a red 1.8m cord, fold it exactly in half, and lay the fold behind one pair of blue cords. You now have four cords in play: two red on the outside, two blue in the middle.
Tie a square knot — red cords working, blue cords as fillers.
Repeat on all six pairs, using six of your red cords. Slide each knot up close under the handle.
Note: Watch the direction. A square knot is left-start then right-start. If you begin both halves from the same side you are tying half knots, and the bag will spiral rather than sitting flat. It is a lovely effect on a plant hanger arm and quite wrong here.
Step 5: The second row
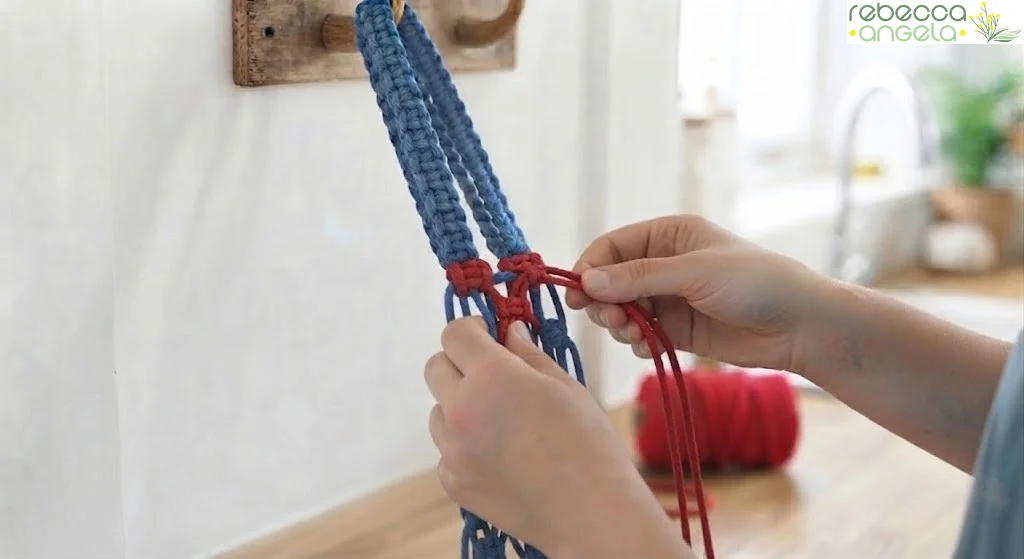
Here is where it becomes a net.
Measure down about 2.5cm from the first row. Now take adjoining pairs — the right-hand two cords from one knot and the left-hand two from the knot beside it — and tie a square knot with them, adding a fresh red cord folded in half as your working cords, exactly as before.
Work all the way around, using your remaining twelve red cords.
Each knot in this row sits in the gap between two knots from the row above. That offset is what makes the net.
Step 6: Keep going in alternating rows
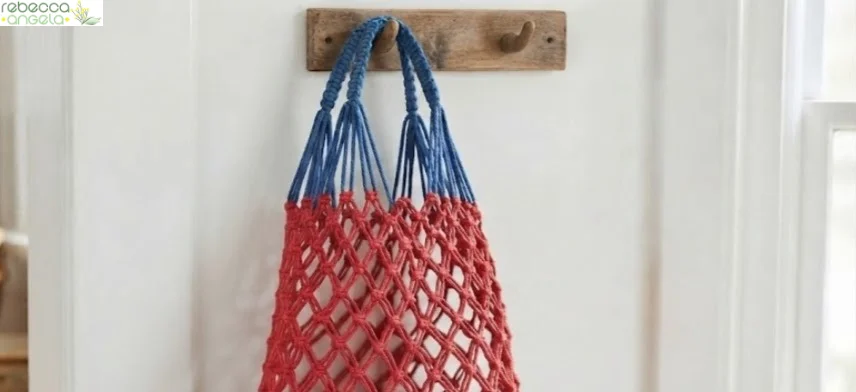
From here you add no more cord. You simply keep tying alternating square knots with what you have.
Leave about 2.5cm between rows and keep alternating which cords pair up, so every knot sits between two knots from the row above.
Carry on until the net measures about 35cm deep, or the bag is as deep as you would like it.
Tip: The gap between rows is what makes this a bag rather than a solid tube — it is what lets the net stretch around whatever you put in it. But it is also a decision. 2.5cm gaps hold fruit and veg comfortably. If you want to carry smaller things — keys, a phone, a lemon that has ideas — go closer, about 1.5cm, and add a metre or so to each red cord because tighter rows eat cord faster than you expect.
Try to keep your spacing consistent. Measuring beats eyeballing, and tension drifts across an evening. Mine certainly did.
Step 7: Two tight rows at the bottom
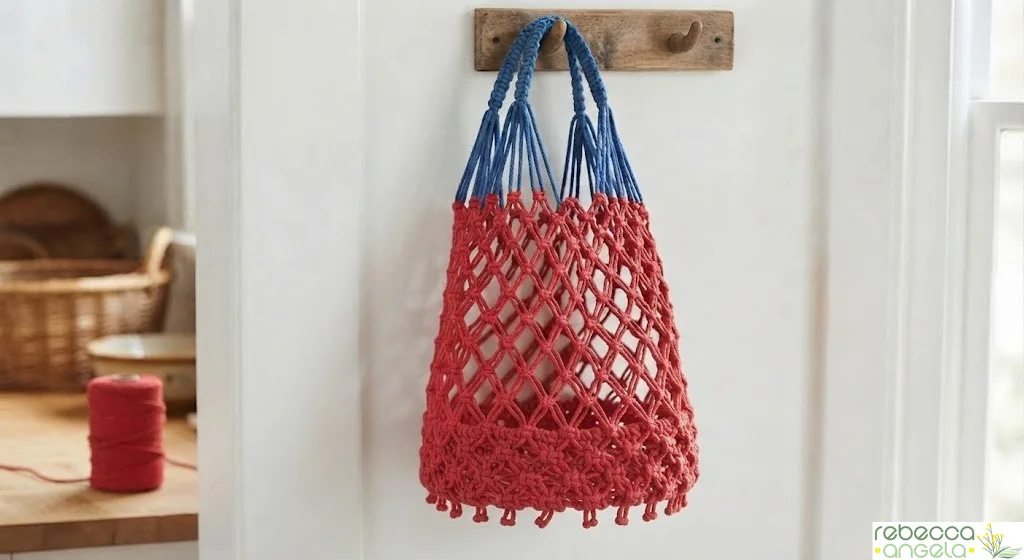
This is the bit everybody leaves out, and it is why so many handmade market bags let a plum straight through onto the pavement.
For your last two rows, tie them immediately below the previous row with no gap at all — knot butted up against knot.
Those two tight rows close the base of the bag. Everything above can be open and stretchy; the bottom needs to be a floor.
Step 8: The bottom gathering knot
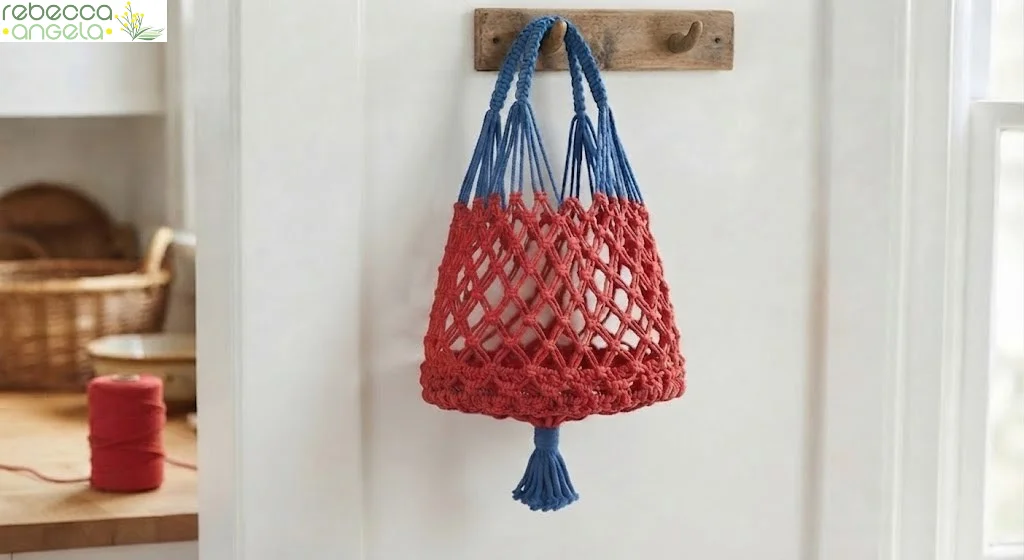
Gather all twenty-four cords together below your tight rows and tie a gathering knot with your 90cm length, wrapping firmly for about 5cm.
This carries the whole load of the bag. Pull it tight, and give it a firm downward tug when you have finished to be sure of it.
Step 9: Trim
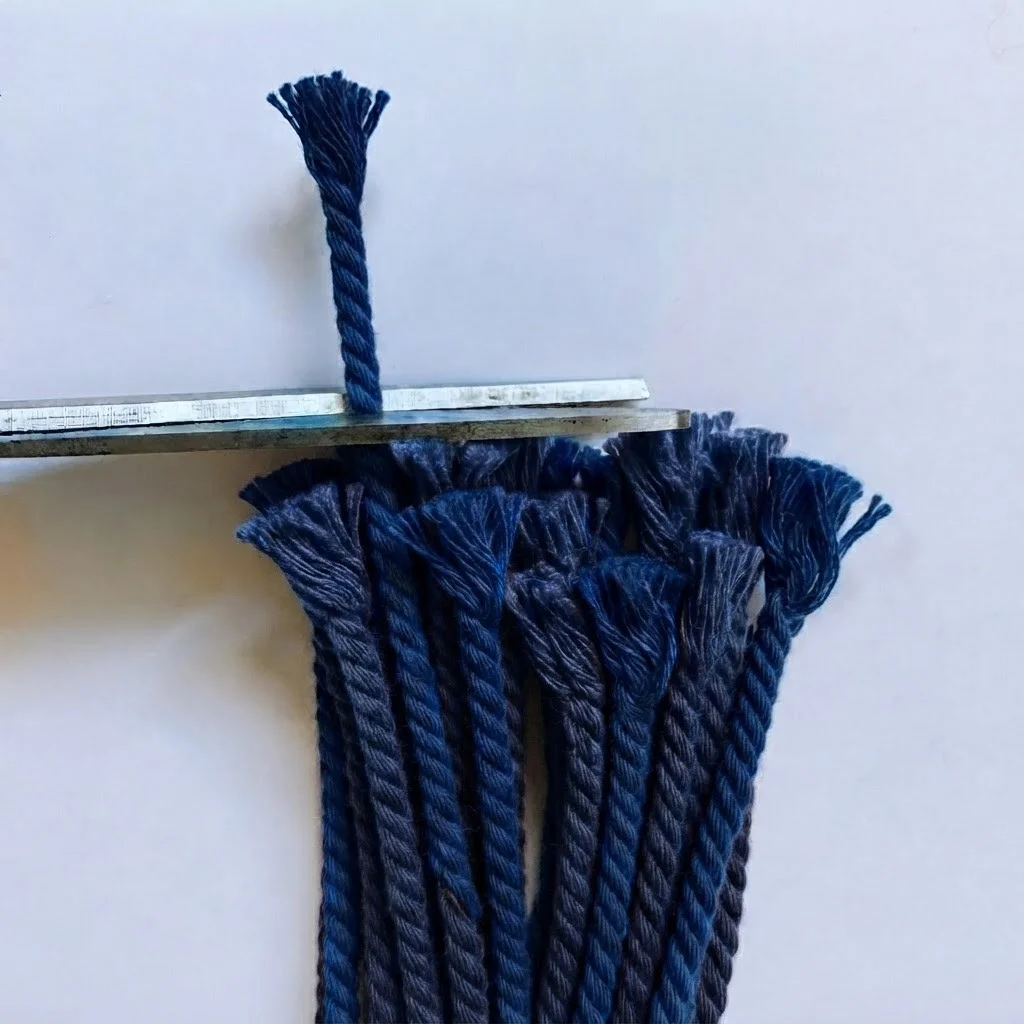
Trim the fringe below the bottom knot to whatever length you like. I went with about 8cm — long enough to look deliberate, short enough that it does not drag on the ground when the bag is full and swinging.
Then trim any stray ends around the handle.
And you are done!
Macrame Market Bag Changing the size
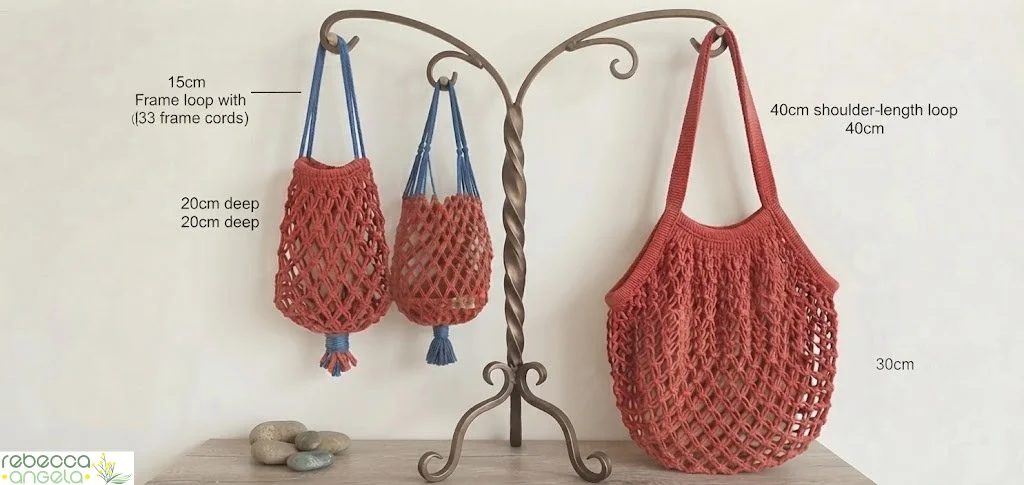
For a shoulder strap: make the handle loop 35–40cm instead of 20cm, and add 30cm to each of your six blue cords.
For a deeper bag: keep knotting more rows, and add about 40cm to each red cord for every extra 10cm of depth.
For a wider bag: use eight frame cords instead of six, which gives you eight pairs and a wider net. You will want twenty-four red cords rather than eighteen.
For a smaller produce bag: three or four frame cords, a 15cm handle loop, and a net only 20cm deep. These are quick, and a set of three in different colours is a genuinely good gift.
A general warning: cord goes far faster than you think when you are knotting. If you are changing anything, be generous. Running out three rows from the bottom is not recoverable, because there is no way to join macrame cord invisibly partway through.
How much will it actually hold?
More than looks reasonable. Mine has carried a full load of fruit and veg most weeks since I made it.
Three practical things I have learnt:
Cotton stretches. A cotton net will sag under weight and stay slightly stretched. This is normal, and it settles after a few uses. Do not be alarmed the first time it doubles in length with a watermelon in it.
The handle takes all the load. That first gathering knot is the whole structure of the bag. If anything is going to give way, it is there — so wrap it more firmly than feels necessary, and test the empty bag with a hard pull before you trust your shopping to it.
Small round things escape. Even with two tight rows at the bottom, a bag with 2.5cm spacing will lose a cherry tomato given the chance. Loose berries and small items want a paper bag inside, or a tighter-spaced bag made for the purpose.
Caring for it
Wash by hand in cool water with a little wool wash. Squeeze gently rather than wringing, reshape while damp, and dry flat.
Never in the machine. It beats the knots out of shape and turns the fringe into felted rope.
It will shrink slightly the first wash, and coloured cord may run a little on its first outing — wash a new bag on its own before it meets anything pale.
Let it dry properly if it has carried anything damp. Cotton left balled up wet will go musty.
Questions people ask
How much cord do I need for a macrame market bag? About 50m of 4mm cord — six frame cords at 2.5m, eighteen net cords at 1.8m, plus 1.2m and 90cm for the two gathering knots.
What knots do I need for a macrame bag? Two: the square knot for the net and the gathering knot for the handle and the base. That is genuinely all.
How do I stop things falling through my macrame bag? Tie your last two rows immediately below the previous row with no gap, so the knots butt together. Those two tight rows form the floor of the bag. Very small items will still escape a wide-spaced net, so keep berries in a paper bag inside.
How long should the handle be? A 20cm loop gives a short hand-carry handle. For a shoulder strap, make it 35–40cm and add 30cm to each frame cord to pay for the extra length. Decide before you tie the first gathering knot — you cannot change it afterwards.
What cord is best for a macrame bag? 4mm braided cotton. Braided is stronger and smoother than three-ply and does not fray with the constant handling a bag gets.
Will a macrame bag stretch? Yes. Cotton sags under weight and stays a little stretched. It settles after a few uses and is not a fault.
Can I make it in two colours? Absolutely, and I would encourage it. Using one colour for the six frame cords and another for the net makes the structure of the bag legible — you can see exactly how it is built, which is rather satisfying.
So there it is. An evening’s work, about 50m of cord, and a bag that has been to the shops most weeks since and folds down to nothing in a handbag.
The blue and red were the right call. It looks like a thing somebody made on purpose, which is exactly what I was after — and it has had more comments at the checkout than anything else I have made this year.
Have you made one? What did you go for — natural, or something with a bit of nerve about it? And has anyone worked out a reliable way to stop the cherry tomatoes escaping? I would genuinely like to know.
Tell me in the comments below.