This next post in the Learn-to-Sew series gives you five principles for ‘neat’ sewing. The quality of your finished item will be so much the greater, and you’ll avoid some potential frustrations (remember your sewing zen?), for taking some small steps to keep your sewing neat as you go along. I’m not talking about keeping your sewing room tidy (please don’t come and visit mine at the moment!) I’m going to talk about accuracy, keeping excess fabric clear of the needle, snipping threads, finishing edges and seams, and pressing.
Tips for Neat Sewing
1. Accuracy
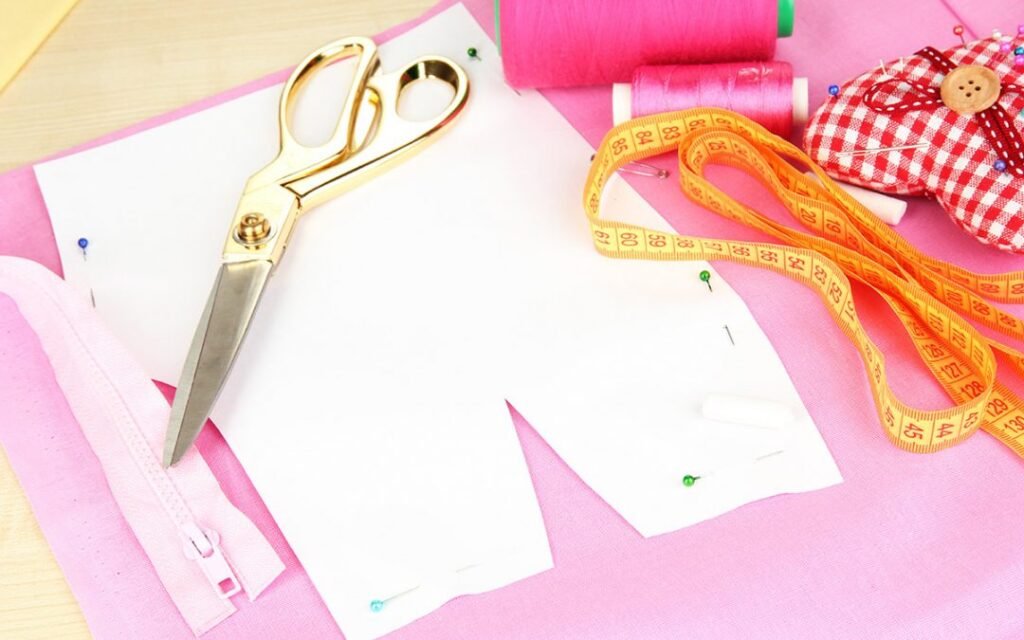
Accuracy in sewing is essential from the moment you take scissors to your paper pattern. Obviously pattern pieces are designed to fit together so it is important to cut both the paper pattern and the fabric, as close as possible to the cutting lines.
In another post I’ll explain how to read and use a commercial pattern but for now I will just say that you need to be aware that garment patterns have a number of sizes on each pattern piece. You need to choose the correct line for your size and following that line for all the different pattern pieces otherwise you’ll have trouble matching pieces together when the time comes to sew them.

When cutting the fabric, place the pattern on the fabric according to the grain as indicated on the pattern. See my post All About Fabric for further information on fabric grain. Make sure the fabric is nice and flat under the pattern before you pin (or place your pattern weights, or in my case tuna tins) then cut around the pattern pieces carefully. Often patterns will give you ‘notches’ and other marks to help match one piece to another so make sure you transfer these markings to your fabric too.
A lot of tutorials from the web ask you to cut fabric to certain dimensions. Again, make sure you measure and cut as accurately as possible. A large cutting mat with lines marked and a long metal rule are a real help for this job. And, for those of us in metricated countries, you might find a ruler with inches is handy because a lot of excellent projects are published by people in the US, using inches. It can be a bit irritating to have to convert everything to centimetres and, of course, the extra step means there is one more opportunity for errors in accuracy.

Accuracy applies to matching pattern pieces to sew seams too. When you place two pattern pieces together to sew them, make sure the ends and edges are even and flush with one another and match any notches. This is where your accurate marking of notches will pay off.
If there are no guides on the pattern, sometimes you might need to work out, for example, the halfway point on each piece and mark them yourself as a guide to matching the pieces accurately. I use this technique a lot when I am fitting the round base of a fabric bucket to its side piece. I mark the four quadrants of the circular base and quarter the side piece so I can ease the sides to the base and not have lots of extra fabric left over when I’ve sewn all the way around the bucket.
Finally, make your seam allowances accurate. A pattern should tell you the seam allowance allowed. Stick to this as best you can because things will fit together so much better if you do. See my post on sewing straight seams for more information on this.
2. Keep Excess Fabric Clear

Even when you are sewing a straight seam with two flat pieces of fabric, it is possible for your fabric to get caught up in the stitching line where you don’t want it to. It is even tricker to keep fabric clear of the needle if you are sewing something more complicated. Obviously for neat sewing, you only want to stitch along the seam line so you need to pull the rest of the fabric away. This is straight forward enough for the fabric you can see (the top layer) but the layer on the underside can get caught up and can’t be seen.
So, first of all, make the fabric pieces as flat against each other as possible when you put them together. Then, as it runs through the machine keep feeling, particularly with your left hand, that the fabric is still flat. With some tricky seams where the pieces you are sewing together are different shapes, such as putting in a sleeve, you might need to keep pulling away the bottom layer of fabric gently (possibly with your hand between the layers). Don’t pull so hard that the edges are not longer aligned but just enough to keep the fabric flat so that you sew only through the fabric where you need to. If things get caught up, you will need to unpick and resew that seam so it is worth taking it a bit slow to make sure all goes well!
3. Manage Thread Tails

As you sew your project you will end up with lots of tail ends and, if not managed as you go, can end up making a bit of a mess with threads hanging out of seams or getting caught up where they shouldn’t. It is good practice to snip off the thread tails at the beginning and end of your seams to minimise the chance of stray threads. But make sure they are secured first or your seams will open up again. Where you are starting and finishing a seam that will be hidden in the final product, you can secure the thread by backstitching a little at the start and end of the seam. To do this, stitch a few stitches forward at the start of your seam, then press the reverse button (or however it is you make your machine go backwards), stitch a few stitches backward, then go forward again to the end of your seam. When you get to your end point, reverse again for a few stitches then stitch forward to your end point again.

Where the end of your stitching will be visible, such as when you are topstitching something, securing the thread with backstitching will look ugly so in this case you will need to pull your thread through to the wrong side of your fabric. To do this, give yourself longish thread tails (5-8cm), flip your project over to the wrong side and give the visible thread a gentle pull. This will pull through a loop of the thread from the other side. Slip a pin through this and pull the thread all the way through. Now you can tie the two thread ends together in a double knot to secure them.
4. Finish Edges and Seams
For a neat finish to your project, to stop fraying and to add durability, it is advisable to ‘finish’ your seams and any fabric edges that will be exposed in the finished piece. To ‘finish’ a seam means to secure the edges of the fabric, usually with some sort of stitching. This is best done as you go because it is tricky to finish a seam that has already been crossed by another seam. Also, fabrics tend to fray the more you work with them so ‘a stitch in time’ will save your fabric from fraying as you work on your project.

Seams can be finished in a number of ways but first of all I want to mention that patterns will often tell you to press a seam open (I’ll get to pressing in a minute) but if you look at professionally made garments, they are not pressed open on the inside – the two fabric pieces are finished together with an overlocker and pressed to one side.
This is my preferred way of finishing seams and there are only some occasions when a completely flat seam is required or fabric is very thick and would be bulky if doubled up (but sitting here now I am struggling to think of the last time I needed to do that!) It is quicker too, because you only have to do one line of stitching per seam instead of two. However, this is a matter of personal preference most of the time.
An edge that will be exposed, such as if you are turning up a hem and not doubling it over, will also need to be finished.
Use one of the following methods to finish your seams and edges (there are others such as binding but these are the easiest and most common):

Pinking
Use pinking shears (the scissors that cut in a zigzag rather than a straight line) to trim some of the excess from your seam. This works best on fabrics that do not fray too much as it will not stop fraying altogether.
Zigzag Stitching
Use the zigzag stitch on your machine with a width of about 6mm. Stitch as close to the edge of your fabric as possible trying not to go over the edge. If you do let the needle go over the edge, the stitch will tend to pull your fabric together so that it is no longer nice and flat.

Overlocking
This is what the professionals do but it requires a whole different machine. I love my overlocker for this purpose but it is by no means a necessity. Overlockers also trim excess fabric as they sew so there are some risks involved with this method. One day I will tell you the story of the time I cut through the back piece of a jacket I was making to wear to a wedding with the overlocker. That was the end of that project!
Some regular sewing machines also have a stitch that simulates a kind of overlocking stitch so have a look in your manual to see if yours does.
A word on clipping seams

Soon I will post the long awaited post about sewing curved seams in which I will discuss the importance of clipping curved seams to give a nice smooth and flat finish. But that goes a little beyond what I want to discuss in today’s post. Keep an eye out for that post.
5. Press
And finally pressing. If you have ever used a commercial pattern, you will have been asked to ‘press’ after sewing a seam. Why? Why can’t I just wait until I’ve finished the whole project before I have to get the iron and ironing board out? Well pressing seams flat as you go makes for a neater finish to your project.

I mentioned above that I usually don’t open up seams and press them flat but I still press the seam so that it is flat on the right side of the fabric and the seam allowance is pressed to one side of the stitching. This means that when I sew across the seam later in the project, the finish will be flat. If you don’t press, it is likely that you will end up with a little tuck at the seam.
Furthermore, it is usually much easier to press a seam before it is crossed by other seams in future steps of the project (just as I mentioned for finishing a seam).

Of course, once you have finished sewing your project, you will give it a thorough all over press to make it look fabulous. Even if you press as you go this will be necessary because the fabric will crease as you work with it.
So there you have my five tips for neat sewing. Please tell me if you have anything you would add to this list by sharing your tips in the comments below! Happy sewing!


Pingback: Recovering from Creative Mistakes - Rebecca Angela
Pingback: Oops! When sewing goes wrong… - Rebecca Angela
Pingback: Learn-to-Sew: Sewing Terms Explained - Rebecca Angela