To get comfortable with your sewing machine, some straight sewing is a great place to start. Here are my top tips for sewing straight and some easy beginner projects that only require straight seams!
Sewing Straight
Sewing in a straight line is essential for lovely looking projects and it is a bit of a skill to master but you will be a master by the end of this post! Sewing curves is, of course, trickier so I’ll cover that in a later post.
I hope you have been able to sit down at your machine and have a play since threading it up last week. I want you to have a play with speed control before you go any further. In fact, it can even be useful to play with speed control using your pedal even before the machine is threaded. Check your machine manual to see if there is a speed setting on your machine so that you can set it to slow to begin with. My machine has a switch on the pedal itself which allows me to set it to a slower maximum speed.
Find some scraps of fabric to practice on. As you will rarely sew a single thickness of fabric, fold your fabric over so that you are sewing through a double layer. Perhaps fold a large scrap in half so that you can run down it several times to practice your straight lines.
Look at your Fabric NOT at your Needle
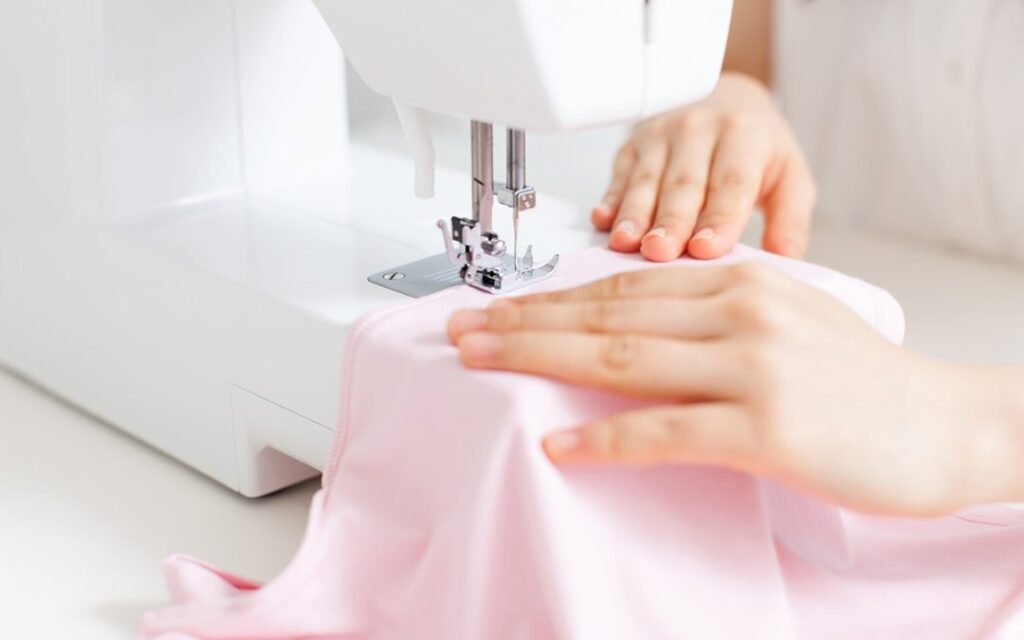
The secret to sewing a straight line is not to look at the needle. When you press the pedal, your needle is going to do its thing – up and down, up and down. It is not going to move. You don’t need to watch it. The fabric, however, is going to get pulled through the machine by the feed dogs underneath the needle so it is the fabric you need to watch if you want to sew straight. If you look at your needle plate, most likely you will see some lines engraved into it to help you line up your fabric. Keeping your fabric against these guides is where your attention should be focused when your machine is going.
Know your Seam Allowance
All sewing patterns will tell you the correct seam allowance to use. Seam allowance is the amount of fabric between the edge of the fabric and the line of stitching or seam. A lot of patterns use 1.5cm (or 5/8th of an inch). Being accurate with the width of your seam allowance leads to more accurate fitting of the pattern – both in fitting the pattern pieces together while you are making it and to the size of the garment, for example, when you are finished.
So use the guides on the needle plate to help you sew the correct seam allowance as stated on the pattern. There will also be a dial for you to adjust the position of your needle to one side or the other. Use a ruler, tape measure or a sewing guide to measure accurately the correct guide to use for the position of your needle.
If there are no guides on your needle plate, or you need a different seam allowance than provided, there are a couple of different methods for setting your own. You can stick masking tape in the correct position, or a sticky note. A stack of sticky notes will give you a raised edge to run your fabric against too. Another method is to put an elastic band around the free arm of your machine. This can be moved as you need for different projects. For narrow seams, you can just use the edge of your presser foot as a guide. Some machines also come with attachable seam guides (or they can be purchased separately).
Hold your Thread Tails
Ok, so when you have worked out your guide, take your fabric and line it up against your guide and under the presser foot in a position where the needle will go through the fabric but close to the top of your fabric. Lower the presser foot and lower the needle into the fabric with the handwheel. Now you are nearly ready to start stitching but first, hold the thread tails so that the needle does not become unthreaded as you begin to sew. If you can get into the habit of leaving your thread take-up lever in its uppermost position every time you stop sewing, that will avoid this problem altogether. Either method will work but holding the thread is a good practice to get into.
Secure your Stitching
So now stitch forward a few stitches and stop. Press the reverse button on your machine and stitch back over the stitches you just sewed. Release the button and sew forward again. This secures your thread in the fabric so that it will not pull out. You will do this at the beginning and the end of your stitching.
Take it Slow
Now continue stitching forward and go slowly until you have mastered the art of lining up your fabric with the guide. Stitch to just before the end of your fabric and secure your stitching with some back stitching then stitch to the edge again. Raise the needle out of the fabric if necessary with the hand wheel. Raise the presser foot and pull the fabric away to the side. If it catches at all, give the hand wheel a little turn or even a jiggle and that will release the bobbin thread that is caught. Pull the fabric out about 10-15 centimetres and snip the threads leaving tails of about 10cm hanging from your machine.
Voila! A straight seam. Do that again a few times until you are confident with the speed of your machine and guiding the fabric and you will have mastered the art of sewing straight seams.
Turning Corners
What about turning corners? You will undoubtedly want to do this in one of your first projects. So to turn a corner, sew up to the corner until you are coming to the edge of the fabric. Use the hand wheel to sew the final few stitches to reach the seam allowance of the new side. So if your seam allowances are 1.5cm, sew to 1.5cm from the edge of the fabric. Lower the needle into the fabric and lift the presser foot. Pivot the fabric on the needle until it is in position to sew your next seam. Lower the presser foot again and continue on your way. There is no need to backstitch and secure the seam at the corner.
Great! You can now sew straight seams and turn corners. You are ready for your first project!

Easy Beginner Sewing Projects
Some easy first projects to try that only require straight stitching are things like drawstring bags, cushion covers and pillowslips. Here are some links to projects to get you started. I’ve made sure I’ve included a pincushion project because, as I said in Setting Yourself Up to Sew, they are a good first project! Good luck and please share what you make!
Easiest Pincushion Ever from American Patchwork & Quilting
Drawstring Bag from Melly Sews
Simple Envelope Pillow from Mumtastic
Simple Pillowcase from Doodle Ee Doo
Fabric Coasters from Pretty Handy Girl
Winter Scarf from Polka Dot Chair
Easy Infinity Scarf from Sew Can She


Pingback: Tutorial – Painted Envelope Cushion Cover - Rebecca Angela
Pingback: Learn-to-sew: Five Principles for Neat Sewing - Rebecca Angela
Pingback: Learn-to-Sew: Sewing Curves - Rebecca Angela
Pingback: Learn-to-Sew: Ten Things to Sew with Only Straight Seams
Pingback: Learn-to-Sew: Threading your machine - Rebecca Angela
Pingback: Tutorial – Party Bunting - Rebecca Angela
Pingback: Creative Winter Boredom Busters for Tweens - Rebecca Angela