Sewing – where to start?
So you’ve decided you want to dust off your sewing machine and learn-to-sew but where should you start? Let’s start to talk about the basic equipment you need to get started with sewing.
Basic Sewing Tool Kit
First of all, there are going to be some basic tools you will need, other than your sewing machine. To start with, you might be able to find some basics around the house that will do for now. You might not want to invest too much in setting yourself up until you are spurred on by your success on your first few projects! However, there are probably some inexpensive items you will need to pick up from your local sewing store.
A basic beginner set up will include the following…
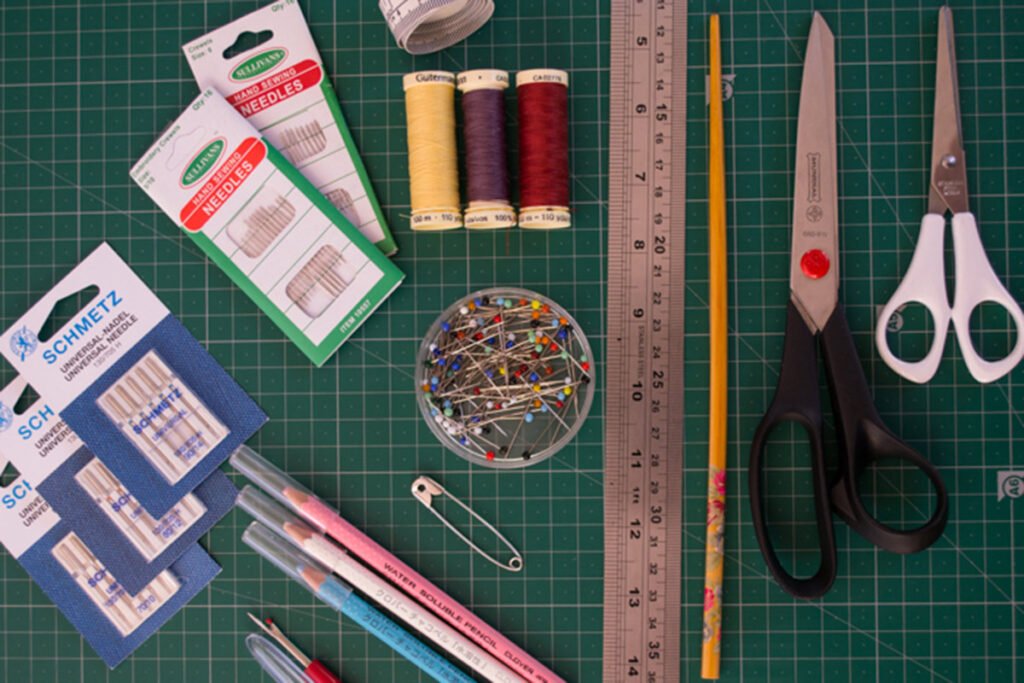
Scissors.
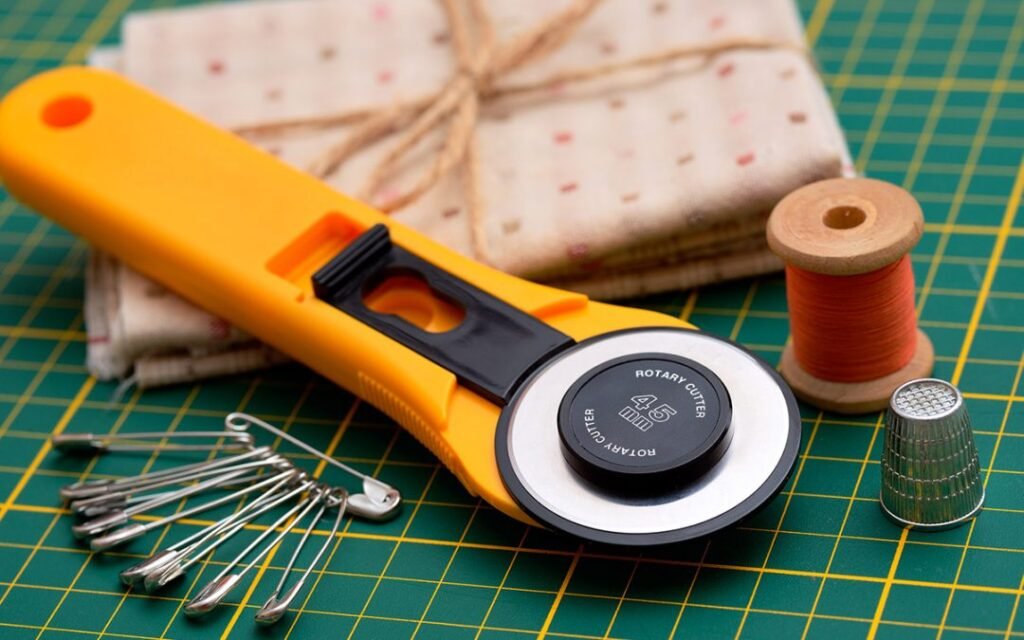
Every sewer needs a good pair of scissors to cut fabric. Eventually, you will want to buy a pair of good quality dressmaking scissors which you will reserve strictly for cutting fabric – I remember this being drilled into me by my mother! However, if you have a large pair of scissors, which are sharp and will easily cut fabric, by all means, make a start with these. However, if your scissors labour through a couple of layers of thin fabric, you are going to become frustrated very quickly and the results will be disappointing. Many sewers use a rotary cutter, cutting mat and metal ruler (not plastic or wood which the rotary cutter will cut) for cutting out too and this does make cutting easier and more accurate in many instances but I used scissors for years and years before I had a rotary cutter. You can save yourself this expense to begin with. However, another small pair of scissors for cutting threads and that sort of thing is an essential. And you’ll already have paper scissors for cutting patterns.
Pins.
A packet of straight pins is a must. To start with, the ones with a pearl or coloured plastic ball on the end are ideal because they are long and easy to see. A pincushion (or two) to put them into on the run is also very useful but also a satisfying easy little project to make. So you might aim to make one for yourself as one or your early projects! Some safety pins will also come in handy – particularly a large one which can be used for threading elastic through casing (a tube of fabric for holding a cord or elastic).
Marking pencil or chalk.
There are a huge variety of ways to put marks on your fabric to help you put your project together neatly and accurately. For years all I used was a cheap chalk pencil set, which has three colours (so marks can be seen on different coloured fabrics). The chalk has a tendency to rub off while you are handling the fabric though which can be irritating. I have found water-soluble pencils to be a bit more durable. Then there are pens which have erasers or fade or wash away. Seriously it is all a bit bamboozling now. To start with get yourself some tailors’ chalk or pencils and build up from there.
Needles.
You will need some machine and hand sewing needles. Machine needles have a little bit of variety – both in thickness and in the type of fabric they are designed for. Get yourself some Universal machine needles. Often you can buy a pack with a few different sizes in it. A selection of 70/10, 80/12 and 90/14 is a good start. You will also need a selection of hand sewing needles. They can often be found in a variety pack too. You’ll probably want to have some sharps and some embroidery needles to begin with. You might need something more specific for a future project but initially, something you can use to hand sew gaps closed and tuck away your loose thread ends will be sufficient. I often use one with a larger eye so that I can get two thread ends through it easily.
Thread.
When you buy your fabric, buy a spool of coordinating thread. Trust me, after a little while you will build up quite a colour collection! If you can, buy a good quality thread such as Güttermann as they are stronger and less likely to break both while you are working on a project and later when it is being used. There are different types of thread on the rack at the store. The one you are after for basic sewing is a polyester ‘sew-all’ thread. It will probably be the thread type on the shelf with the greatest colour range as it is the most popular due to its strength and versatility. On the subject of thread, have a look to see how many bobbins (the round spool that holds your machine’s lower thread) are with your machine. I find it useful to have a number of these so that I can dedicate one to each new colour thread I use. There are usually inexpensive plastic versions available for each machine brand so it might be worth picking up some more – but make sure they are the right ones for your machine.
Seam ripper or ‘un-picker’.
Yes, inevitably you will have to undo a seam you have sewn and this tool, which often comes with your machine, is really essential for the task.
Iron and ironing board.
It is highly likely that you have these in your home already. Use what you have. If you don’t have one, however, you will want to get one because ironing your project throughout construction and to finish really is essential for pleasing results.
A point turner.
When you turn a project right-side out, often you need to poke the corners out so that they are neat. Imagine you have just sewn two squares of fabric together for a coaster and you’ve turned it right side out and want the corners to be nice and square. You can’t do this with your fingers. You will need to get a blunt pencil, chopstick or other similar object into the corner to push it out. I have even been known to use my blunt-ended thread scissors even though I keep an old chopstick in my sewing box for this purpose.
Measuring tape and ruler.
Depending on your project, you might need to measure something up. Sometimes online instructions for projects have you draw up your own pattern or cut your fabric to specific dimensions. If you make a garment, you will need to take measurements of the intended wearer so you can make it the right size. A tape measure, being flexible, is used to measure around things. I find rulers much easier to use to mark out fabric or draft patterns. I now have a variety of metal rulers up to 1m in length, which I can also use with my rotary cutter. However, you can get started with anything you have around the house. If you can find a 50cm or a metre rule all the better.
And finally, the essential ingredient for any sewing project – fabric!
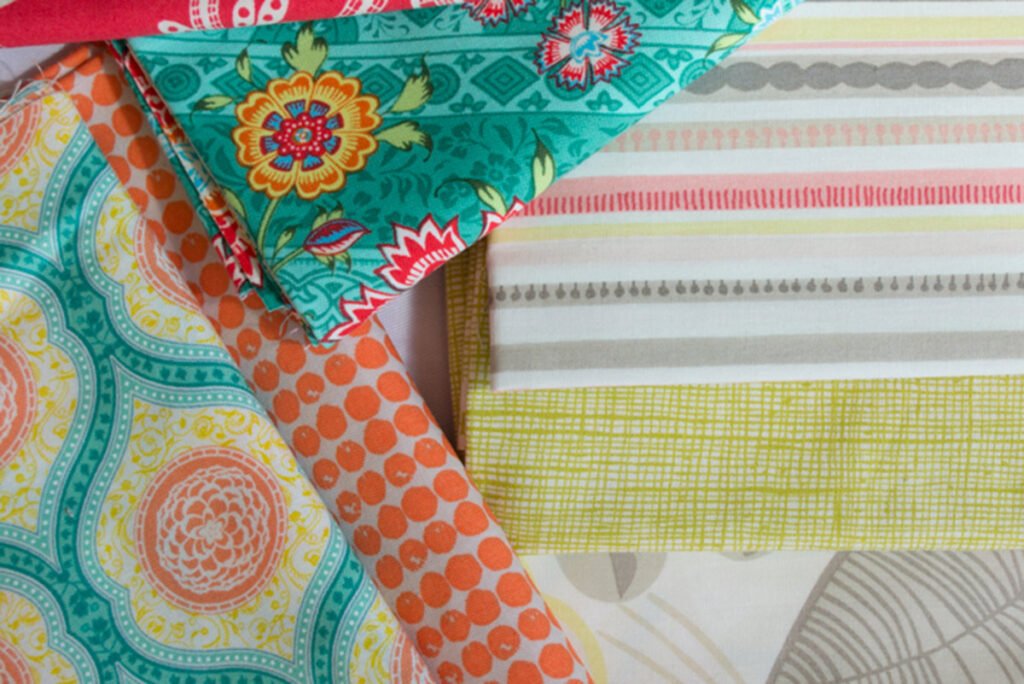
Fabric
There are so many different types and weights of fabric available and they come in so many beautiful colours and prints – which is why so many of us have such a large stash! I’m not going to discuss fabric types in this post because it is long enough already but I do want you to think about what you will use for your first project.
I recommend a cotton or poly-cotton blend to begin with because they are so easy to sew. They do not slip, they do not resist the needle and they come in an extraordinary variety of colours and prints that you will find something you fall in love with! Check out the amazing array of prints in the quilting section. Most stores also have a section of printed and plain cotton and poly-cotton on the roll. You can also buy pre-cut packs of coordinating ‘fat quarters’ (a cut of fabric which is about half a metre by half a metre or yard – i.e. a quarter square metre or yard, but it is a bit wider than tall hence ‘fat’ quarter).
Now, you might not yet have a project in mind but if you fall in love with something while you are browsing the fabric store and want to pick up your first piece of fabric for your own stash, as a guide, most of the small projects you might do to begin with will need less than a metre of standard width (112cm) fabric.
So, good luck in gathering your sewing tools. Are there any other things you think are essentials? Tell me what and also share any gorgeous fabrics you have or buy!
Pingback: Tutorial – Painted Envelope Cushion Cover - Rebecca Angela
Pingback: Tutorial – Fabric Marker Softie - Rebecca Angela
Pingback: Designing Fabric with The Spoonflower Handbook
Pingback: Tutorial – Party Bunting - Rebecca Angela
Pingback: Learn-to-Sew: Sewing Straight and Easy Beginner Projects - Rebecca Angela
Pingback: Tutorial – Square-Based Fabric Bucket - Rebecca Angela
Pingback: Learn-to-Sew: Ten Things to Sew with Only Straight Seams
Pingback: Learn-to-Sew: Sewing Terms Explained - Rebecca Angela