Screen-printing Stencils
If you have ever created your own screen-print, chances are you used a paper stencil which you cut out by hand. It is a common technique and, though simple, I am gobsmacked by the detail some patient people create this way! This was the way I learnt to screen print at high school. We used art paper that was shiny on one side to make our stencils so that the paper was less likely to buckle with the moisture. They could be used more than once but they were not very durable. Nowadays, if I do a paper stencil, I use a thickish and glossy stencil paper available in large sheets from my art store.
Paper stencils have their limitations though. Very fine detail is difficult and text is troublesome if you want to use letters like A, B, D, O, P, Q and R which have parts you will cut out. This, of course, also applies to any shape with a cut-out. There are ways around it but there are sometimes (many times) when another technique is called for.
I may have been living under a rock, screenprinting-wise, but my first screen printing course at Megalo Print Studio was an eye-opener! I discovered photo emulsion! This opened up a world of possibilities. I have a lot of people ask me how it works and it is interesting so I thought I would share it with you.
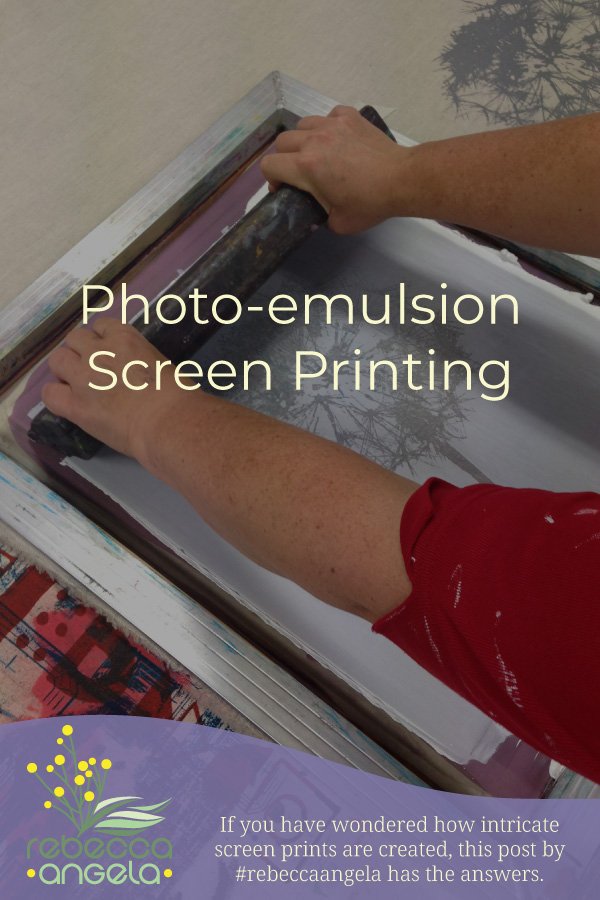
Photo emulsion screen-printing
Photo emulsion is light sensitive so we can use light to transfer an image to the screen. The image can be anything including photographs, drawings, computer-printed text or illustrations – anything. The image, however, has to be black and white. Photographs can be manipulated with software in various ways to make a suitable image.
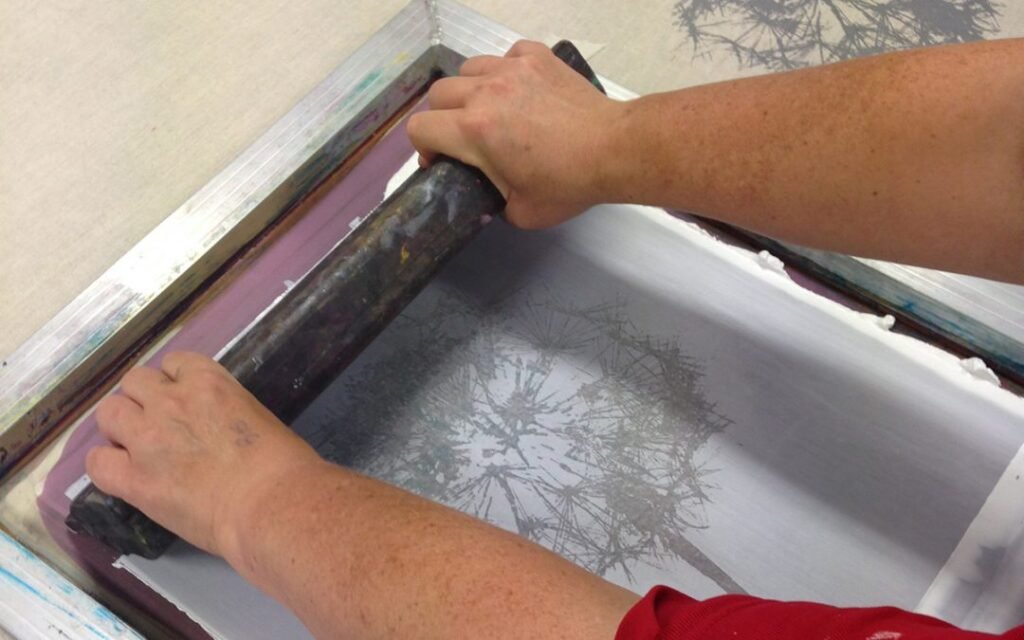
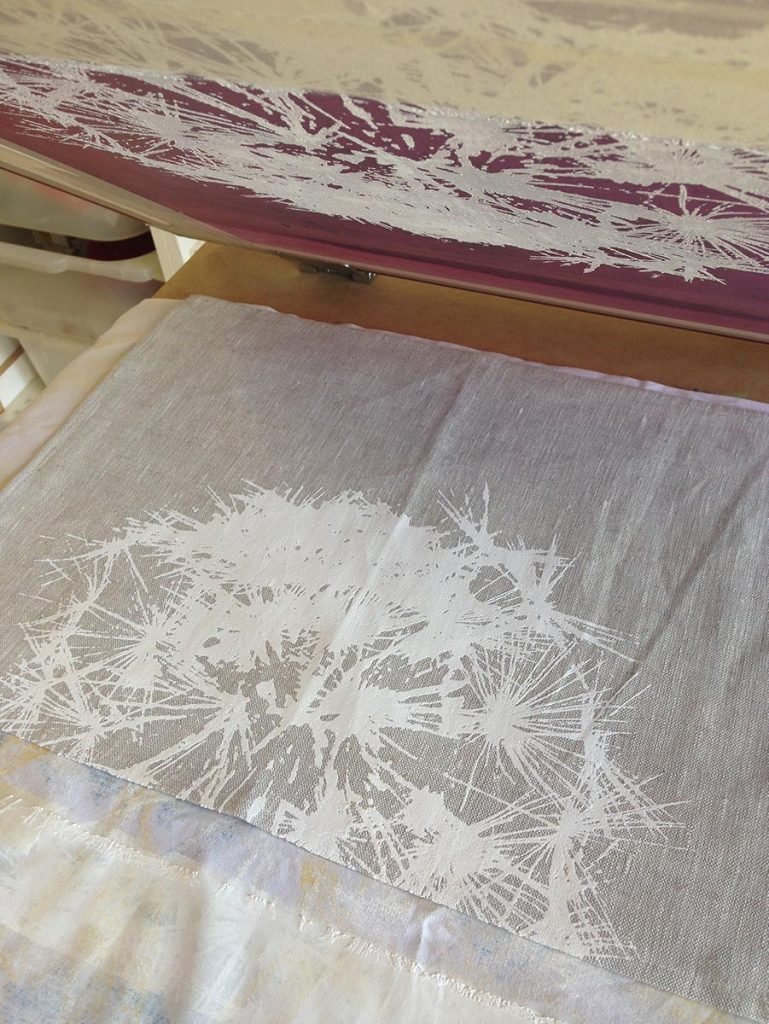
My dandelion print was created from a photograph that I manipulated to be very high contrast.
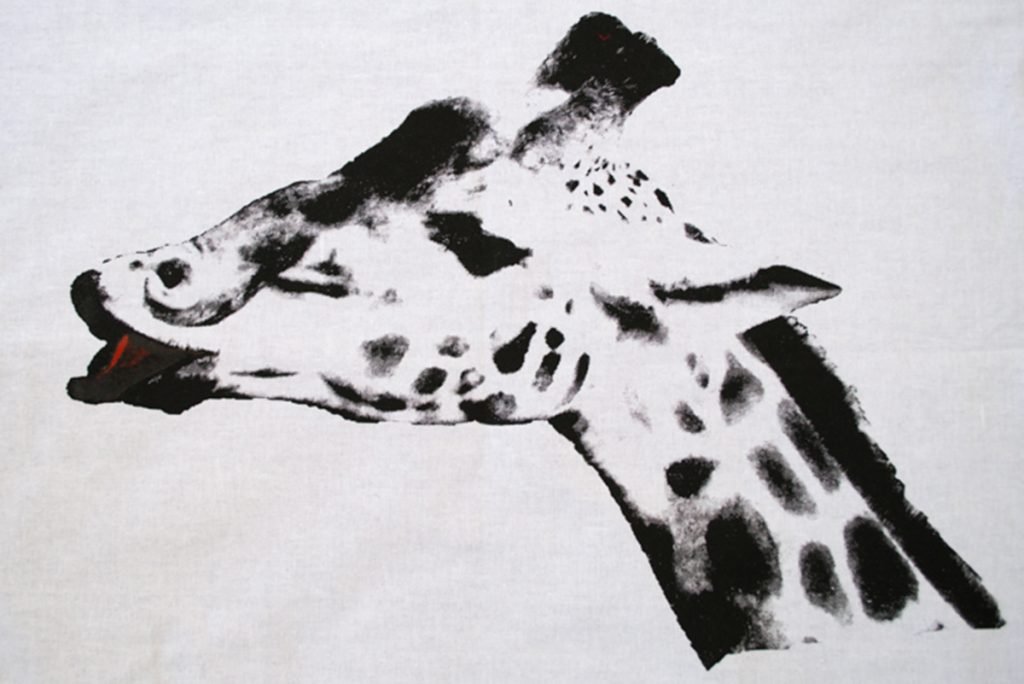
This giraffe print was created from a photograph which I made ‘half-tone’ so it resembles a newsprint image.
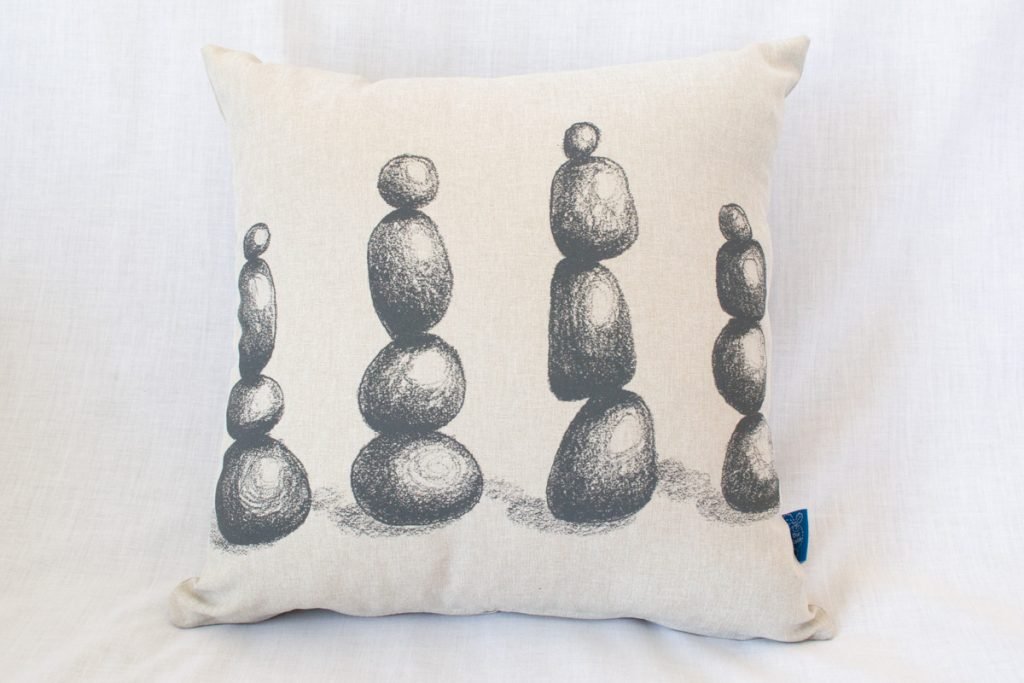
A few weeks ago I wanted to experiment with printing a very textural pencil drawing I had done to see how it reproduced in print. Below is the original drawing which I simply photocopied in black and white (and enlarged it a little) and then used photo-emulsion to put the image on my screen.
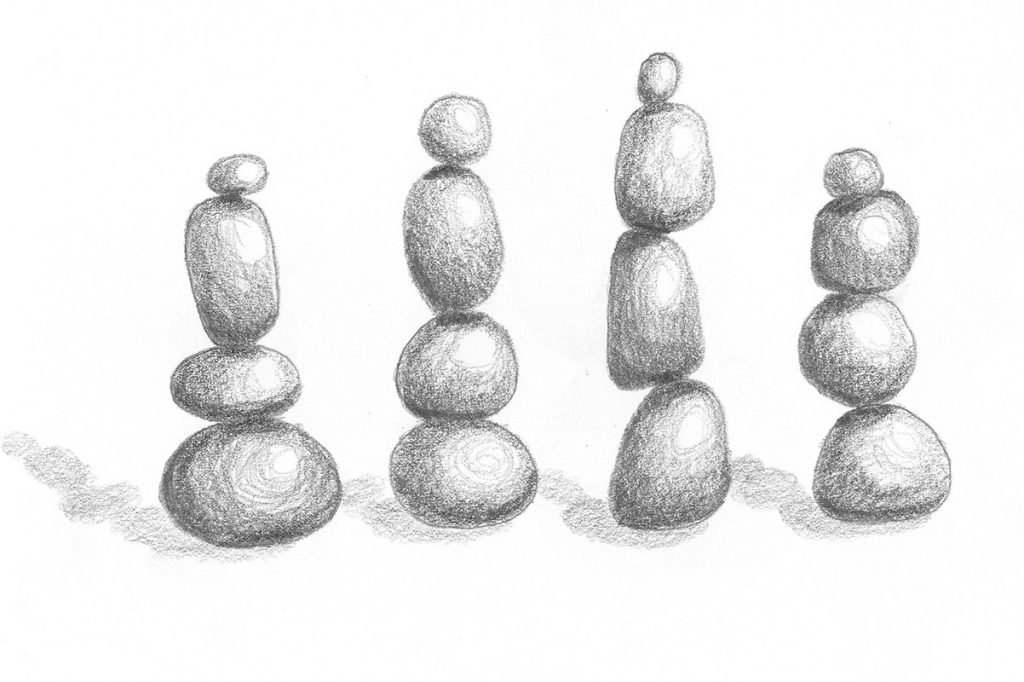
When I printed it, so much texture transferred to the fabric. I was pretty happy with that print shown here on a cushion!
So this is how I did it…
Prepare Image Artwork
The image is printed or photocopied on a laser printer at the size required. Laser printing is important – inkjet prints will be ruined in the next step of the process because the image is then given a wash with oil. Just plain old (cheap) vegetable oil. This makes the paper translucent but the positive areas of the image (the black bits) remain black and opaque. You can also have images printed onto clear film but oiled paper is a cheap and perfectly serviceable way!
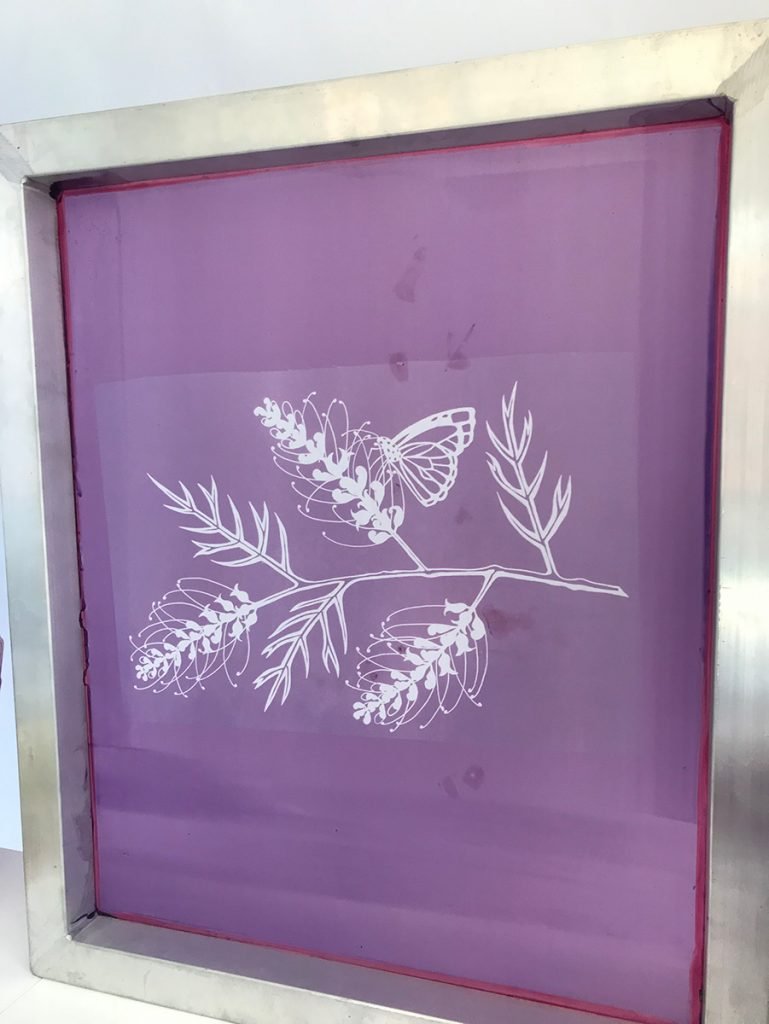
Apply Emulsion to Screen
Next, in a darkroom so as not to spoil the emulsion, the emulsion is applied to the screen. Emulsion is a liquid and it is applied to the screen mesh in a thin film with a wide, trough-like applicator. The emulsion is left to dry on the screen in a dark cupboard.
Expose the Screen
When the emulsion is dry the screen is ready to ‘expose’. In the studio this is done on a UV exposure bed (a light box with UV lights and a glass top) but it is possible to do it with sunlight or a UV lamp set up. I’ve only ever done it at Megalo where the process is very controlled. However, it can be done at home as a quick search of the Internet shows.

The image is placed on the UV bed and the screen is placed in position on the image. The blackout cover is brought down to hold everything in place and to contain the UV light. The UV light is switched on for a specific time depending on the mesh and the emulsion. Two and a half minutes is what I usually use for my white mesh screens and the emulsion I use. This is quite specific to the particular ‘system’ so the directions must be followed. During this time, the UV light passes through the translucent areas of the oiled paper but is blocked by the opaque image. This means the UV light can set or cure the emulsion in the negative space of the image (the white areas) and doesn’t reach the positive image.
Wash Out the Screen
After exposure, the screen is washed out. The areas that have been set by the UV light do not wash away but the black areas of the image do. Megalo has a huge light wall over a washout tub so it is really easy to see what you are doing to ensure that all the emulsion that should be washed away is. So you are left with a stencil for printing that is actually on the mesh of your screen. Nifty, hey?
The screen is wet at this stage and needs to dry before it is used but the stencil can be left on the screen indefinitely and used over and over again. SO much fun!
By the way, places like Megalo will put an image on a screen for you. So if you have an image that you want to print on a heap of t-shirts, for example, you can without needing access to a studio or having the extra equipment required. Let me know if you give it a try!


Pingback: Make Your Own Cheap and Easy Silk Screens - Rebecca Angela
Pingback: From inspiration to screen, the evolution of a new design - Rebecca Angela