

Most travel footage sits on a phone or a hard drive long after the trip is over. Not because the memories are not worth sharing but because turning raw clips into something watchable feels like a project that requires skills most people have not had time to learn.
The editing part is where most people stop. The footage is there. The intention is there. The gap between what was filmed and what would actually be worth watching feels too wide to cross without significant effort or significant software knowledge.
That gap has narrowed considerably with AI video tools. This guide covers the basics of making travel vlogs using them, from understanding why travel footage is genuinely difficult to edit through to turning individual clips into something coherent enough to share.
What Makes Travel Footage Hard to Edit
The challenges with travel footage are specific and consistent across almost every trip.
Lighting changes constantly. A shot filmed at golden hour sits alongside one taken inside a dim restaurant and another in harsh midday sun. Matching these clips so they feel like part of the same video requires colour correction knowledge that most casual travellers have not developed.
Unwanted objects appear in otherwise good shots. A perfect beach composition has a bin in the corner. The temple footage includes a crowd of tourists. Removing these traditionally requires masking and frame-by-frame work that is genuinely time consuming even for people who know what they are doing.
There are no reshoots. If something looks wrong with footage from a trip that ended a week ago, you work with what exists. The option to go back and film it correctly is not available.
Volume is its own problem. A week-long trip generates hundreds of clips. Sorting through them, identifying the moments worth using, and arranging them into something with a narrative shape is overwhelming before any actual editing begins.
How to Edit Travel Vlogs with Pollo AI
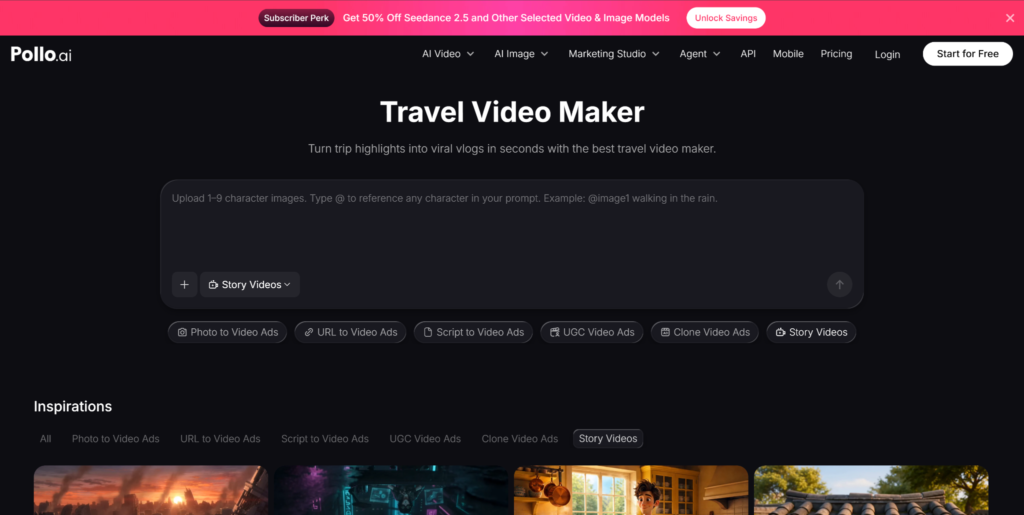
Step 1: Upload Your Footage
Open Pollo AI’s online video editor and upload the clip you want to work on. There is no need to upload everything at once. Working on individual clips and combining them later is the more practical approach.
Start with footage that is close to what you want but needs something fixed. Good framing but a cluttered background. Interesting subject but poor lighting. A location you want to see in a different visual style. These are the clips where the editing effort produces the clearest results.
Step 2: Describe What You Want to Change
This is where AI editing differs from traditional software. Instead of working through menus and adjusting sliders, you write a description of what you want.
Some examples of how that looks in practice:
- “Remove the people walking in the background”
- “Change the weather to golden hour lighting”
- “Make this look like a cinematic film”
- “Remove the bin on the left side of the frame”
- “Change the background to a sunset beach”
Specificity matters here. A prompt like “make it look better” does not give the tool enough to work with. “Warm the colours and add soft contrast like a travel documentary” does. If you have a reference image that captures the style you want, uploading it alongside the prompt helps the tool match it more accurately.
Step 3: Generate and Download
Click create. The travel video maker processes your clip and applies the changes you described. Download the result and assess it honestly.
If it is not quite right, adjust the prompt and try again. AI editing is iterative rather than immediate. The first result gives you something to refine rather than necessarily something finished.
Practical Editing Tricks for Travel Vlogs
Clean Up Crowded Tourist Spots
Popular landmarks are popular. Getting a clean shot without other visitors in frame is often impossible in person. The object removal feature addresses this after the fact. Describe what needs to go and the tool fills the background naturally rather than leaving an obvious gap where the removal happened.
Fix Bad Weather Footage
Planned footage sometimes happens in unplanned conditions. Rain instead of sunset, flat overcast light instead of warmth. Rather than discarding these clips, describe the lighting and weather you had intended. The editor adjusts the scene to match the conditions you wanted rather than the ones you got.
Create Consistent Visual Style
Raw travel footage looks inconsistent because the conditions it was filmed in were inconsistent. Applying the same visual treatment across all clips makes them feel like part of one coherent video rather than a collection of separate moments from different contexts. This used to require colour grading knowledge. Now it requires a clear description of the look you want applied consistently.
Transform Ordinary Shots
Not every clip from a trip is a hero shot. Some are filler, transitions, or footage that documents a moment without being particularly cinematic on its own. Applying a dramatic visual style, a vintage film look, or something more stylised to these clips gives them a purpose they would not otherwise have and makes transitions between stronger moments feel more considered.
Putting It All Together
Once individual clips have been edited, the remaining task is arranging them into a vlog that has some shape to it.
Start with the strongest footage. The shots that will carry the video. Then fill in with supporting material. There is no obligation to use everything filmed. The best travel vlogs use a fraction of the available footage chosen specifically for what it contributes to the overall story rather than for completeness.
Editing does not replace decisions about what to include and how to arrange it. It makes the execution of those decisions faster and more achievable for people who do not have a background in post-production.
The Actual Barrier Was Always Technical, Not Creative
The footage people bring back from travel is usually more interesting than the edited version they eventually share, because the editing process felt too demanding to do it justice.
AI video tools address the specific problems that make travel footage difficult to work with. Lighting inconsistency, unwanted objects in frame, the visual mismatch between clips filmed in different conditions. The decisions about what story to tell and how to tell it remain with the person making the video. The technical execution of those decisions becomes considerably more accessible.
That shift does not produce professional travel vlogs automatically. It removes the barrier that was stopping people from finishing the ones they intended to make.