
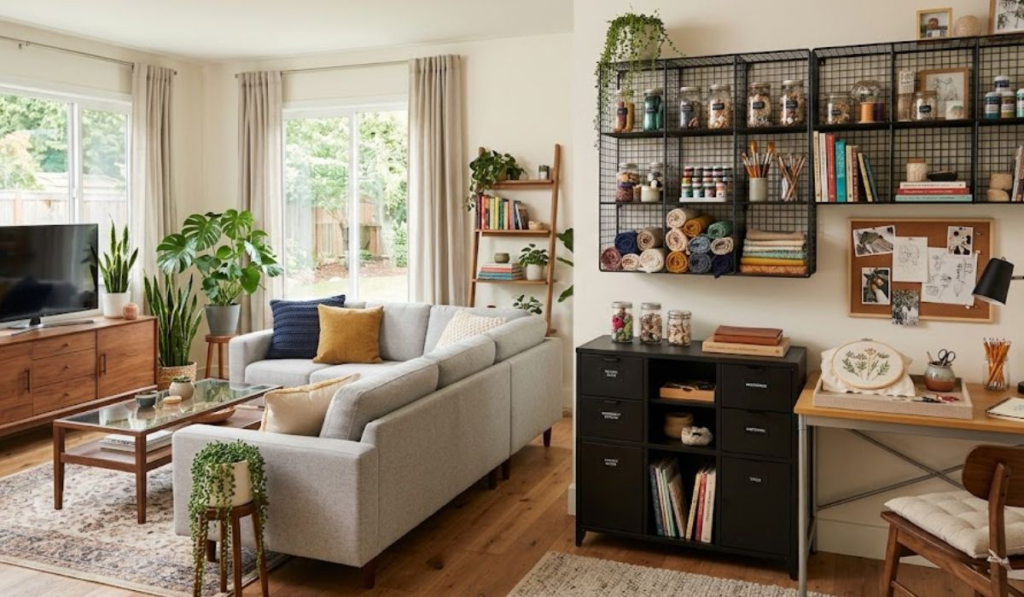

An unfinished project needs somewhere to wait. You might want to pick your embroidery back up tomorrow, but leaving the hoop, the fabric and a tangle of threads across a shared coffee table isn’t much of a storage plan. I’ve tried it. By evening someone has moved it, a thread has gone missing and the whole thing has become a small argument about where things live.
So give the work a place to sit between sessions. Separate the things you enjoy displaying from the project you’re actually using, and from the spare supplies that can live further away. Start with one hobby and the furniture you already have. A useful test is simple: can you take out what you need and put it back without rearranging the whole cupboard?
Sort the Supplies Before Choosing the Storage
Gather the materials for one hobby so you can see what actually needs a home. Hold off on buying matching baskets until you know what’s going in them. A container chosen for its colour can turn out to be the wrong shape for the project, and I’ve learned that one the expensive way.
Picture an embroidery corner with an unfinished hoop, its pattern, several colours of thread, some spare fabric and a favourite craft book. The hoop, pattern and threads belong together as the current project. Extra fabric and threads for later are reserves. The book might earn a spot on an open shelf if you like seeing it there.
Be specific about what’s in progress. Materials saved for a possible future project don’t need to take up the spot you reach for every evening. Give those reserves a separate box or compartment, labelled if the contents aren’t obvious. You should be able to point to the current project without rummaging through the rest of your collection.
Choose What You Want on Show
Open shelves let you see and reach things without opening a door. That suits a craft book you browse often or a finished piece you’re proud of. Useful objects can be decorative, but your working supplies don’t have to earn their place by looking lovely.
If you’d rather not look at packets, offcuts and half-finished work, choose a spot behind solid doors. Glass doors are different: they enclose the shelf but leave the contents visible. Doors can cut down on dust compared with open shelving, though the cupboard will still need a wipe now and then.
You can mix both in the same corner. In the embroidery example, the book could sit on a shelf while the project lives in the cupboard below. There’s no required balance between open and closed space. Choose the visible items together with the people who share the room, and leave yourself easy access to the work that’s tucked away.
If you’re thinking about new furniture, Daedalus Designs’ USM Haller replica collection is one place to browse cabinet options. Compare each layout against the things you want to display and the supplies you’d rather keep behind doors.
Give Unfinished Work a Return Place
Try keeping the active project in a removable tray or box. Pick one that holds the work as it is now, hoop and pattern included, without unpacking everything to make it fit. Test a container you already own before shopping for another.
Keep the threads for this piece with the project and leave the refill stock in its separate reserve box. If small items mingle in the tray, use a smaller container or a divider inside it rather than spreading the kit across several shelves.
A spot behind doors can still work for something you use often. Just check that you can get the kit out when you want it. If you have to lift out two other boxes first, give the project a more accessible position.
Reserve that position for its return, too. If you fill the empty space while you’re working, you end up with the same question at the end of the evening: where does the unfinished piece go now?
Check the Cupboard Around the Kit
Put the filled container into the storage space you’re considering. Check the usable width, depth and height, including room for your hands to lift it out. Open the door or drawer the way you normally would and see whether anything catches or blocks your reach.
For the embroidery kit, a box that fits when it’s empty proves very little. Try it with the hoop inside and the pattern where you plan to keep it. If the hoop sticks out or the lid won’t close, change the container or its position before deciding you need more furniture.
If you do want an enclosed metal cabinet, Daedalus Designs’ USM Haller dupe guide offers a retailer’s comparison of alternatives. Its scope includes replicas and used genuine USM, and replicas are distinct from genuine USM products, so keep that in mind as you compare. Have your actual kit’s fit and access requirements beside you while you read.
An existing cupboard that passes those checks can stay exactly where it is.
Try It Through a Session
Use the arrangement the next time you work on the project. Take out the kit, find the materials you need and put it all back when you stop. Notice where you have to search, shuffle or leave something behind.
If the pattern ends up loose on the coffee table, give it a clear place in the kit. If threads scatter through the box, try a small divider. If putting the tray away means moving the reserve supplies, swap their positions and repeat the check.
When you finish a project or start a different one, review what belongs in the active kit. For now, choose the next piece you want to work on, gather its materials and try returning them to one designated spot. Leave that spot ready for tomorrow’s unfinished work.
