The Magic of the Right Connection
I still remember the first time I sat down at my grandmother’s old oak sewing table, feeling a mix of absolute excitement and a tiny bit of intimidation. Before you begin exploring nahttypen, make sure you’ve dusted off your sewing machine and got it ready to work. I had this beautiful, vibrant piece of linen that I wanted to turn into a simple tote bag, but as I looked at the raw edges, I realized I didn’t just want it to hold together; I wanted it to feel intentional. That was the day I truly discovered the importance of nahttypen (the German term for seam types). Up until that point, I thought a stitch was just a stitch—a simple way to join A to B. But as I began to experiment, I realized that the way we connect pieces of material is actually the secret language of craftsmanship. It’s the difference between a project that feels “homemade” in a messy way and one that feels “handcrafted” with love. For those of us who spend our weekends tucked away in our creative corners, understanding these connections isn’t just about technical accuracy; it’s about the integrity of the things we make.
Understanding the Language of Nahttypen
When we talk about nahttypen, we are essentially talking about the architecture of our textile projects. In its simplest form, it refers to the various ways two or more layers of fabric can be joined together. Over the years, I’ve learned that while there are dozens of variations, they all serve a specific purpose, whether for strength, decoration, or finishing an edge so it doesn’t fray into a bird’s nest of threads.
In my own studio, I’ve found that the plain seam is my reliable best friend for internal structures, but when I’m working on a delicate blouse, I reach for something more specialized like a French seam. This technique encases the raw edges completely, leaving the inside of a garment looking just as beautiful as the outside. Learning these various nahttypen is about building a toolkit so that when you face a new fabric, you aren’t guessing; you’re choosing the best partner for your material.
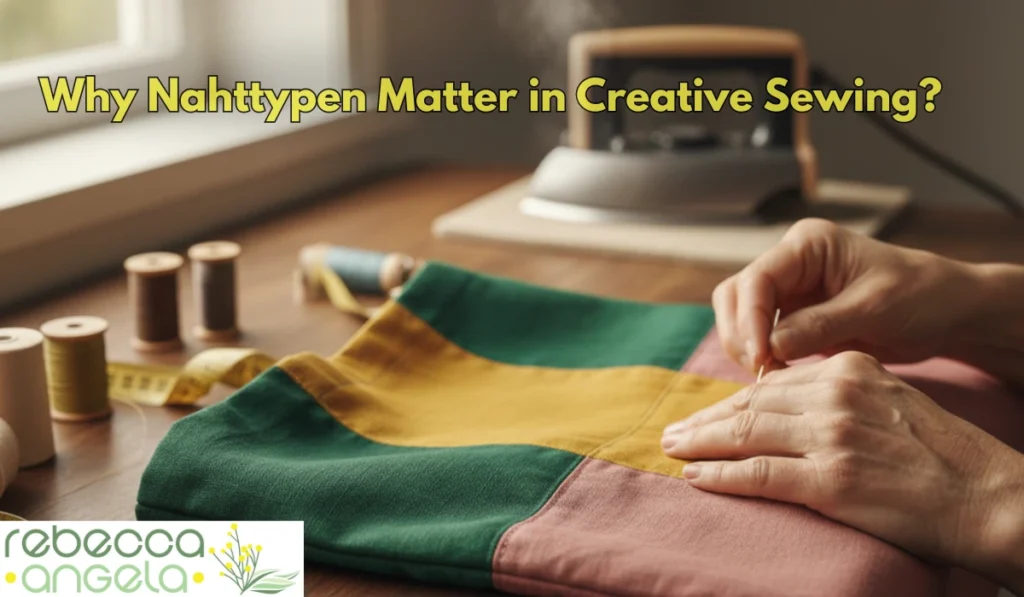
A Journey Through the Nahttypen Stitching Process
If you were sitting here with me right now, a cup of tea in hand, I’d tell you that the best way to master nahttypen is to start with a spirit of play. To begin a standard enclosed seam, we often sew with the “wrong” sides together first using a very narrow margin. I like to use my presser foot as a guide, keeping the edge of the fabric aligned perfectly with the inner notch. These small habits are part of what makes neat sewing possible, and they become even more important when you’re working with different nahttypen. Once that first line of tiny, rhythmic stitches is laid down, the real magic happens at the ironing board. I cannot stress enough how much a good steam iron is your most important sewing tool. You’ll want to press that seam flat to set the stitches, then trim the excess fabric very close to the line. Then, you fold the fabric back on itself so the right sides are now touching, trapping that raw edge inside the fold. As you sew the second pass, you feel the machine hum with a different weight, and when you open it up, you’re left with a clean, professional finish that feels incredibly substantial.
Navigating the Bumps in the Creative Road
Of course, it hasn’t always been smooth sailing in my workshop. I’ve had plenty of moments where I’ve accidentally caught the underside of a garment in a seam or realized I’d sewn the wrong sides together. These kinds of sewing mistakes happen to everyone, and they’re just part of learning which nahttypen works best for each situation. One of the most common hurdles I see when people explore different nahttypen is tension and puckering. If your seams feel tight or the fabric looks gathered, it’s usually a sign that your machine tension or needle choice isn’t quite right for the fabric weight. I used to get so frustrated and think I was “bad” at sewing, but I eventually realized it was just a mechanical mismatch. Another tip I’ve picked up is to always use a walking foot when dealing with slippery fabric. It ensures both layers move at the exact same speed, preventing that annoying “creep” where one piece ends up longer than the other. These mistakes aren’t failures; they are just the fingerprints of the learning process.
Strengthening the Creative Whole Through Nahttypen
Integrating a variety of nahttypen into my practice has completely changed how I view my projects. It’s like adding a new set of colors to a painter’s palette. By knowing exactly which seam to use, I can be more adventurous with materials, moving from sturdy canvases to ethereal silks with confidence. This technical growth has a wonderful ripple effect; when you aren’t worried about whether a seam will hold, you’re free to focus on the design and the joy of making. I’ve noticed that since I started paying attention to these “hidden” details, the longevity of my handmade items has increased tenfold. My favorite linen aprons have survived years of kitchen messes because the seams were chosen for durability, not just speed. It’s a beautiful reminder that in creativity, the things that aren’t immediately visible are often what provide the most support to our vision.
Growing Through Every Stitch
Looking back at that first lopsided tote bag, I feel so much gratitude for the journey. Developing an eye for nahttypen might seem like a small technical detail, but it has taught me so much about the value of patience. To anyone sitting at their own table today, feeling unsure about trying a complex technique, I want to encourage you to just go for it. Take two scraps of fabric and try a seam you’ve never done before. It doesn’t have to be perfect; it just has to be a step forward. Creativity isn’t a destination where we finally become “experts”—it is a continuous practice of showing up and finding wonder in how things come together. Each stitch is a tiny commitment to your own growth, and every seam you finish is a testament to your willingness to create something beautiful from scratch. Happy making, my friends!

