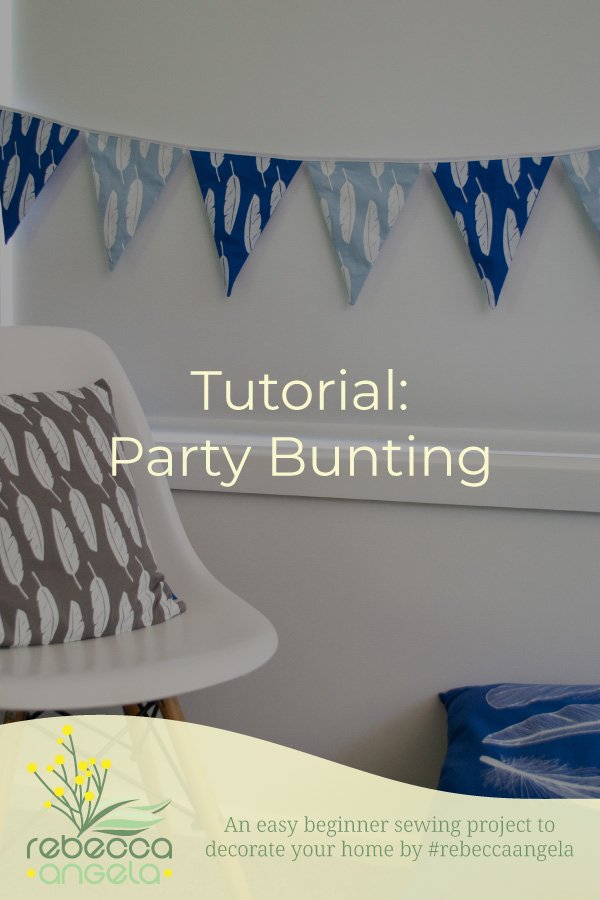
This party bunting tutorial is an easy sewing project. I made several strands of bunting one year to decorate for indoor and outdoor parties at Christmas time. This is how I made them (and it only requires straight seams!)…
Materials (for 8 flag strand):
60cm of 112cm wide fabric (or 30cm of each of two coordinating fabrics). With careful cutting you should be able to squeeze eight flags out of two fat quarters.
2.2m of 25mm bias tape or heading tape in matching or coordinating colour
Sewing thread to match tape
Rotary cutter, 30cm metal ruler and self-healing mat (optional but makes the job much easier)
Basic sewing kit
Bunting flag template
Instructions:
Preparation and Cutting
Iron your fabric so that it is flat for accurate cutting.
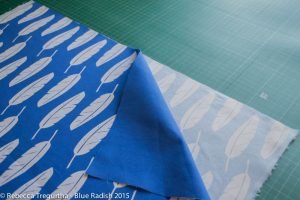
Trim a straight edge across the fabric(s) and, if using two fabrics, lie one on top of the other ensuring the edges are even.
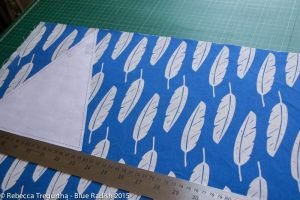
Take your template and measure a strip across the fabric the same height as the flag template. Do this as many times as you need for the number of flags you require.
Lay each piece of fabric on top of each other making sure the raw edges are even.
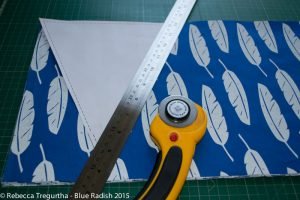
Line the top of the pattern up with the top of the cut edge of your fabrics and right to the left, avoiding the selvedge. Cut the first set of flags with your metal rule and rotary cutter through all layers. (I cut through eight layers.That was about my limit.) If you don’t have a rotary cutter, use tailor’s chalk to mark your cutting lines then go back and carefully cut through all layers of fabric with dressmaking shears.
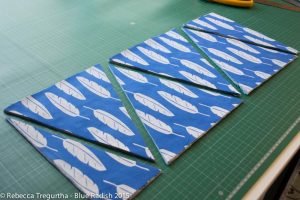
Alternate the orientation of the pattern as you work across your fabric so as to cut as many flags as possible from the fabric.
Sew the Flags
Take the cut flags and match them (they don’t have to have the same back and front – arrange them as you wish) with right sides facing.

Using a 1.5cm seam allowance, sew a straight seam down one side of each flag,
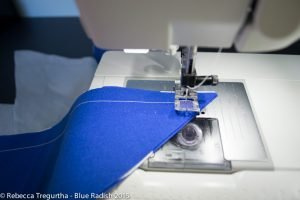
Pivot at the bottom point and sew back up the second side of the flag.
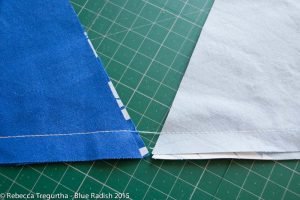
You do not have to break your stitching between each flag. You can just ‘daisy chain’ them by running your machine across to the next flag.
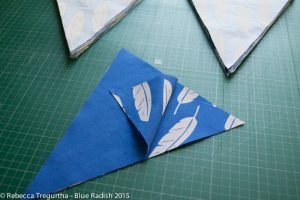
Turn the Flags Right Side Out
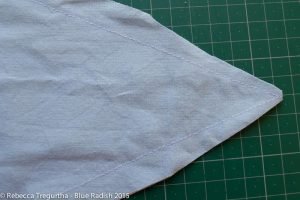
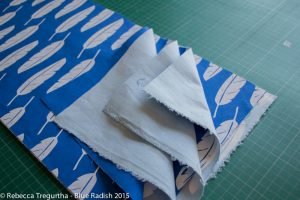
Trim the point off each flag and grade the seam down to the point.
Turn all the flags right side out
and push out the point with a chopstick or other point turning tool. Take care not to push too hard into the point or you might push right through the trimmed seam.
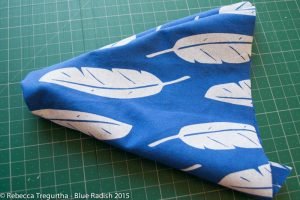
Press the Flags
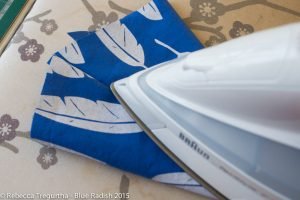
Press the seams on each flag flat.
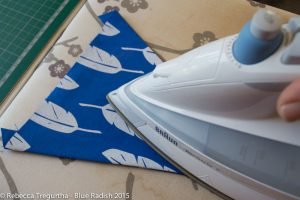
I find it easiest to press the seam open first and then pull the seam back to the side and press it flat.
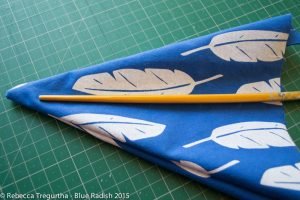
Trim the Flags

Each flag now has little triangles of fabric at the top where the seam allowance pokes out. There may also be some unevenness of the top edges.
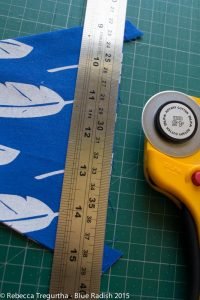
Take each flag and trim across the top as close to the edge as possible to form a straight edge.
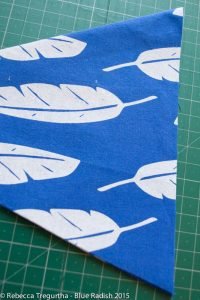
The flags are now ready to sew together to make your bunting.
Sew the Bunting
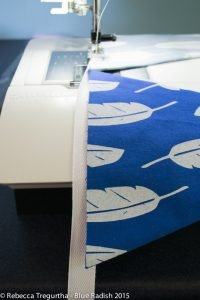
Take the length of tape and fold it in half lengthwise with wrong sides together (do not open out the bias tape – this way raw edges will be neatly tucked away). You might find it easier to press this fold into the tape but this step isn’t necessary. Fold the short end of the tape over about 1cm to the inside so that the raw end will be concealed inside the tape. Sewing along the open long edge of the tape, stitch the tape together to make a tail of about 30cm (for tying up the bunting).
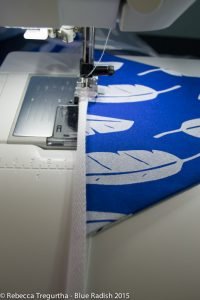
Now take your first flag and insert the top edge into the folded tape. Push the top edge as far into the fold of the tape as possible. Stitch across the top of the flag through all layers of the tape and flag. Don’t try to sew too close to the open edge of the tape because you are likely to miss the tape on the bottom layer. You want to catch all layers in the seam.
When the first flag is nearly sewn in, get the next flag lined up and butted up against the first so that you can sew continuously along the tape.
Do this until all eight flags have been inserted.
Finally, sew the end tail of the bunting together, folding the raw end over to the inside about 1cm, as you did at the start, and tie off your stitching.
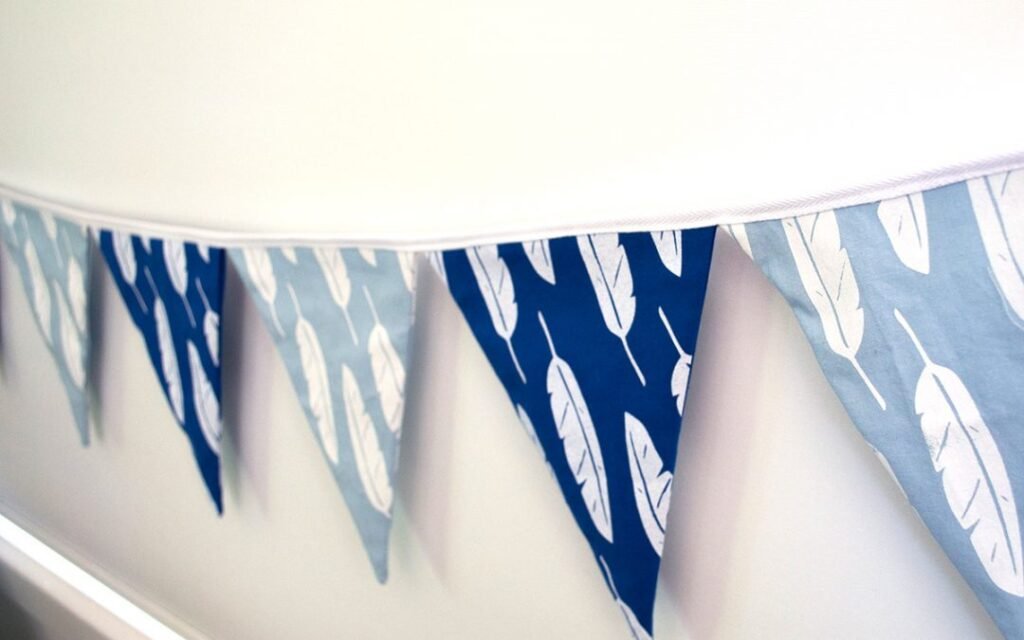
Your bunting is ready to hang!


Pingback: Learn-to-Sew: Ten Things to Sew with Only Straight Seams