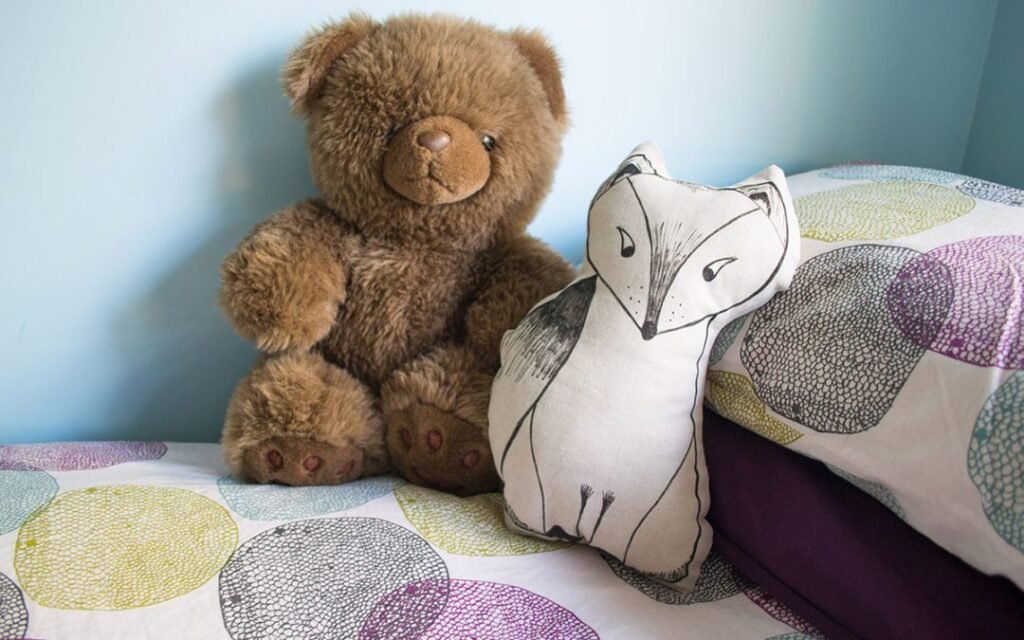
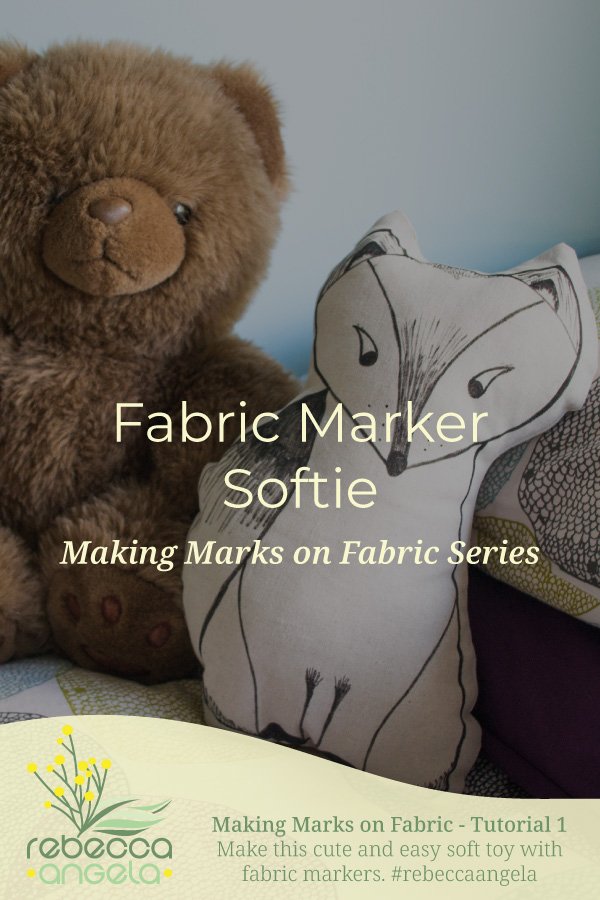
This tutorial shows you how to make a fabric marker softie. As promised in Ten Fun Ways to Make Marks on Fabric, I am bringing you a series of tutorial posts using the techniques listed in that post. This is a simple sewing project and an ideal activity to do with kids. I have provided you with a template for a cute little fox but you can, of course, use any image you like – one with a good simple outline would work well. Or you could draw freehand if you are confident to do that. Children’s drawings are absolutely gorgeous transformed into softies!
Materials:
- Fox Softie Template (or other suitable image)
- 1 fat quarter of fabric or equivalent (plain fabric or a pale pattern would look really cute)
- Soft lead pencil
- 1 or more fabric markers
- Coordinating thread
- Basic sewing kit
Instructions:
Prepare your template
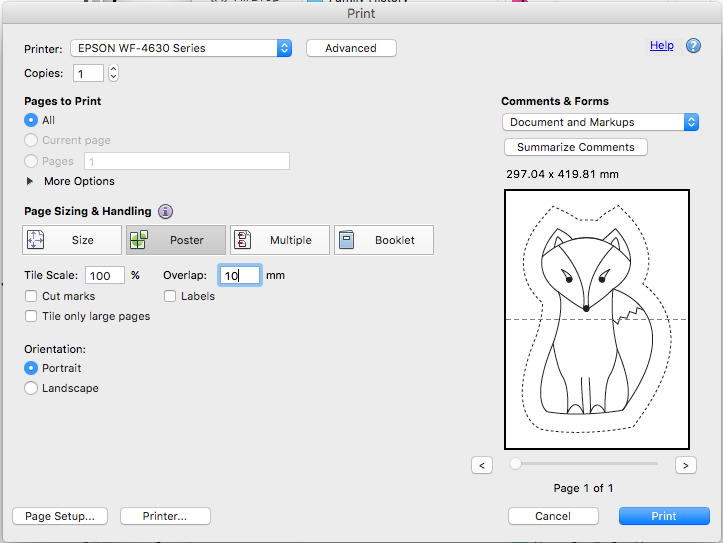
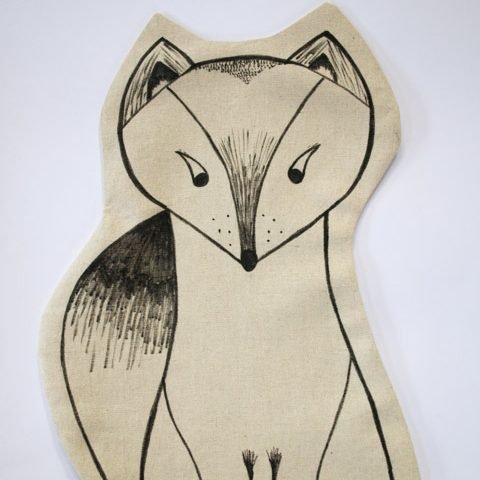
Image from Rebecca Angela
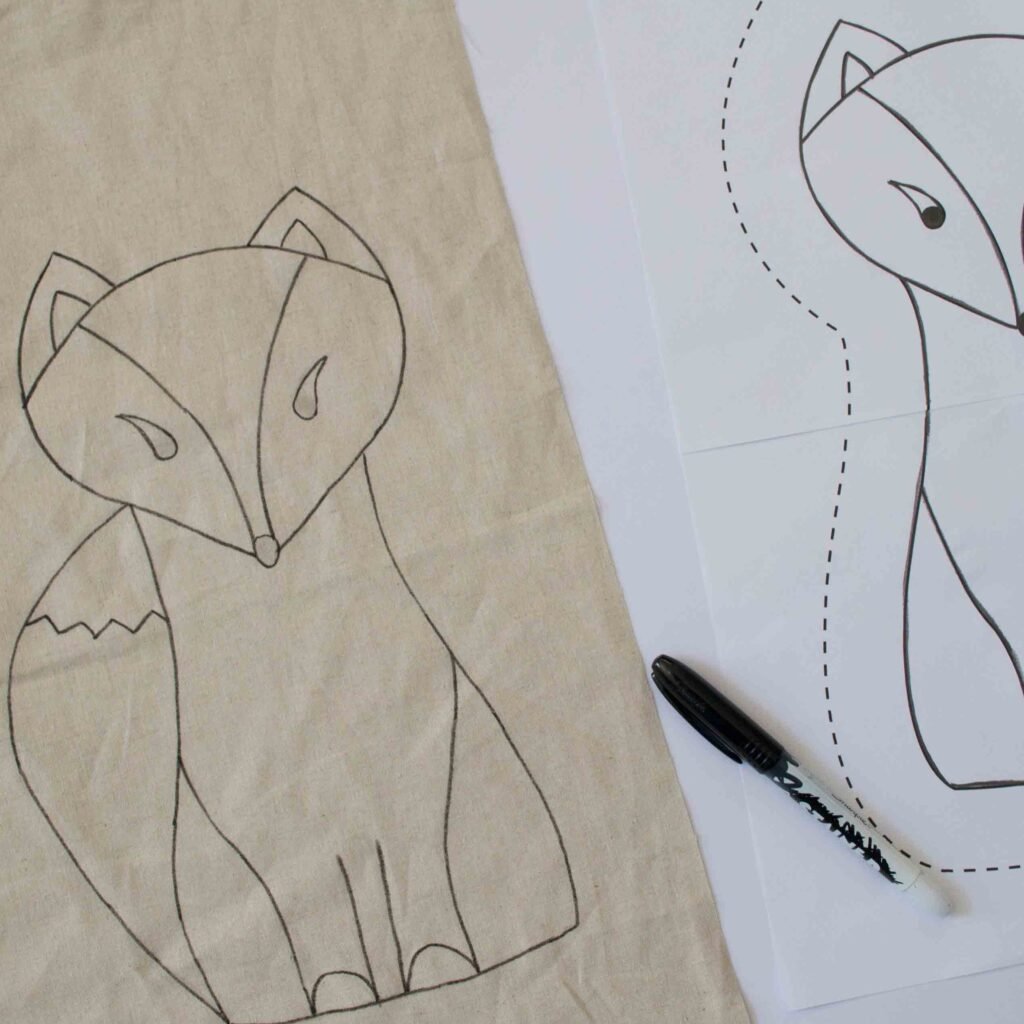
Download the Fox Softie Template pdf and print it out at full size. It will print on 2 A4 sheets of paper or, if you have an A3 printer, 1 A3 sheet. When printing onto A4, set your printer to “Poster Print” with scaling set to 100% and give yourself 10mm overlap.
Stick the sheets together if necessary, aligning the image lines. To help with the next step, tape from the back of the image or do not put tape over any of the lines.
Prepare your fabric
Iron your fabric well so you have a nice flat surface to work on. Then cut your fat quarter of fabric in half (or cut a piece of fabric to fit the template including the 3cm allowance surrounding the image).
Transfer the image to your fabric
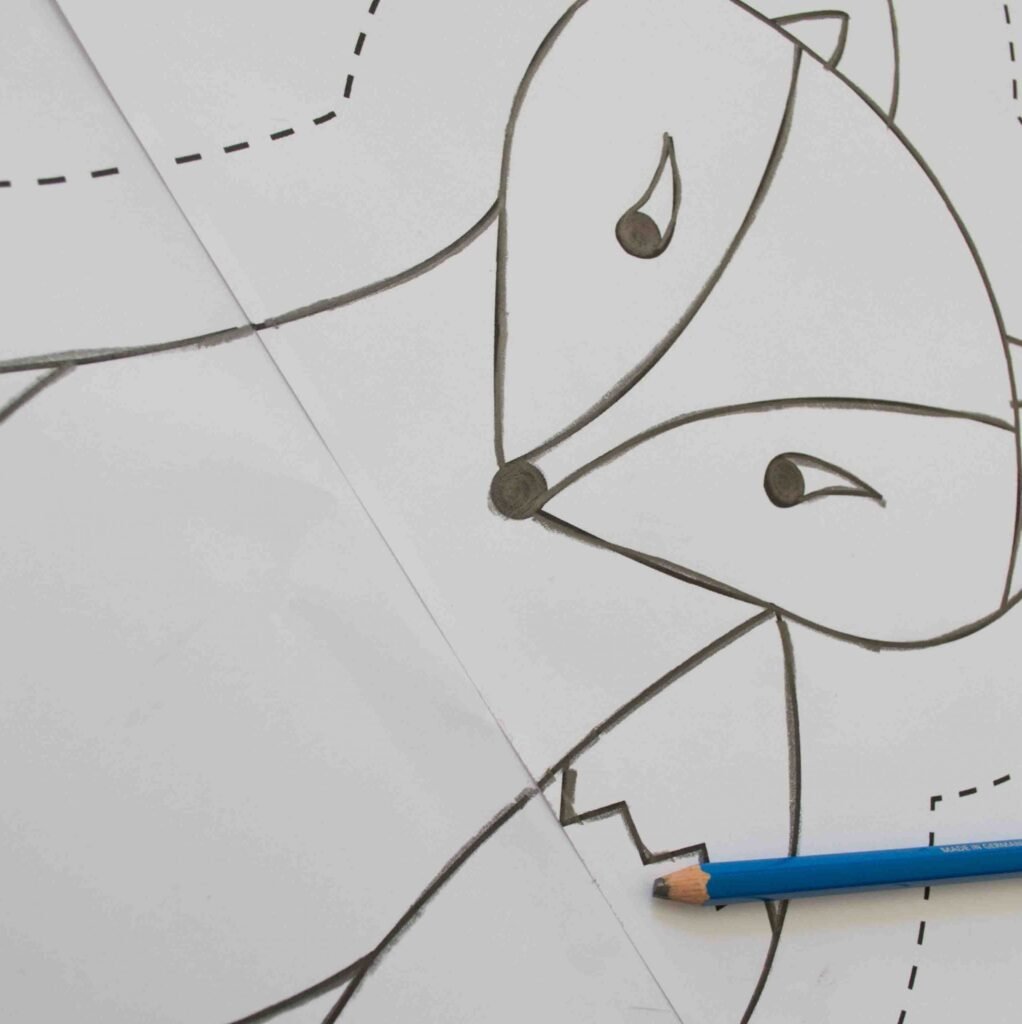
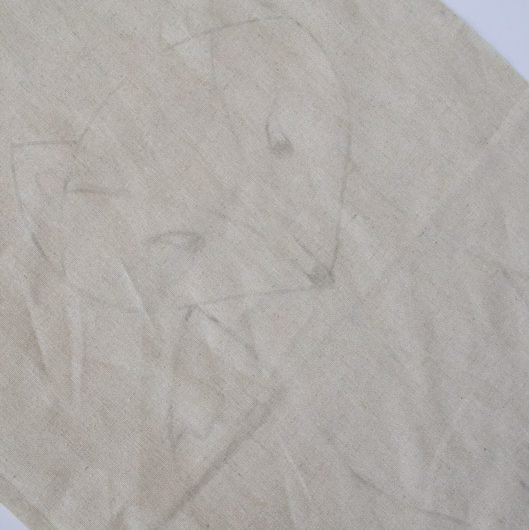
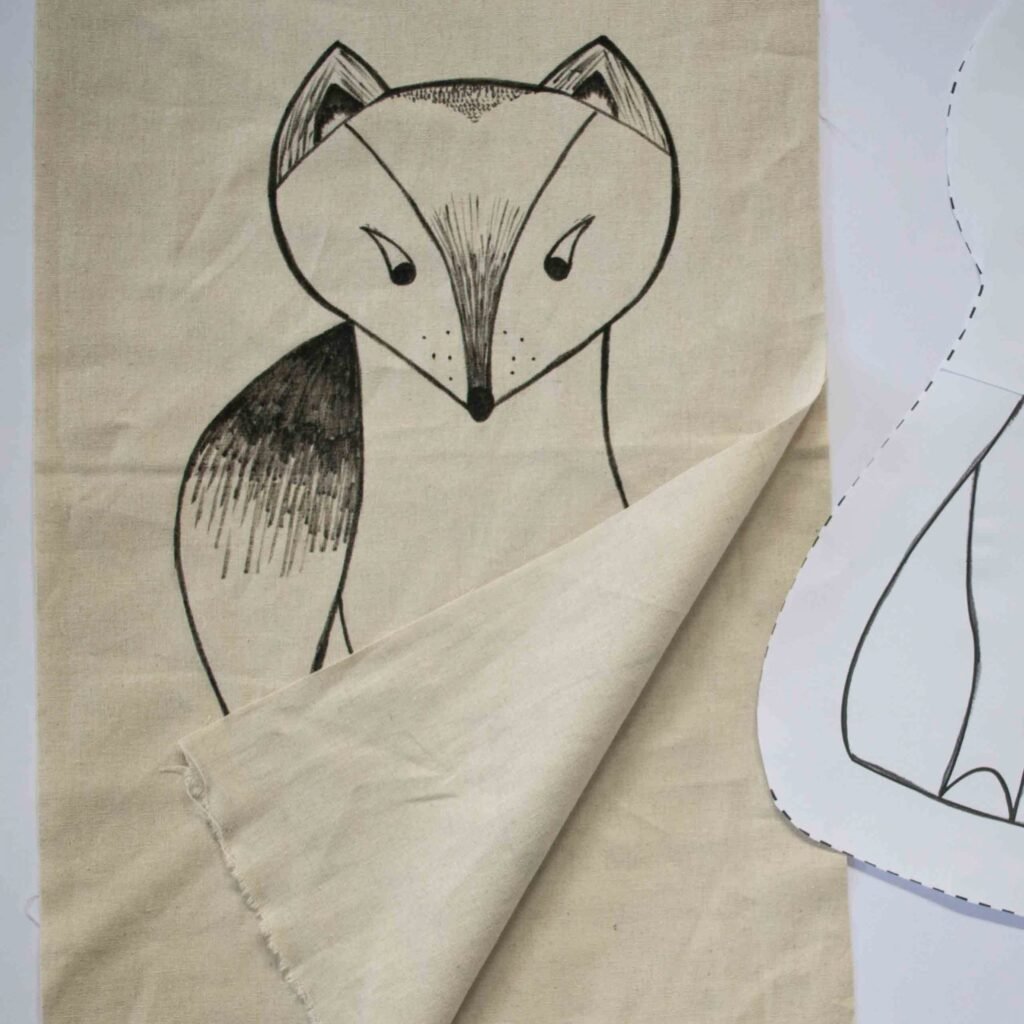
Using a soft lead pencil (the softer the better – I used a 6B), trace over the lines of the printed template heavily.
Take one half of your fabric and centre the template on it right side down.
Use a blunt implement such as the end of a pen and, holding the paper very still on the fabric, rub over all the lines firmly. This will transfer the lead pencil lightly onto the fabric.
Note: The image is reversed. If you use this technique with lettering or an image where the direction is important, you will need to account for this.
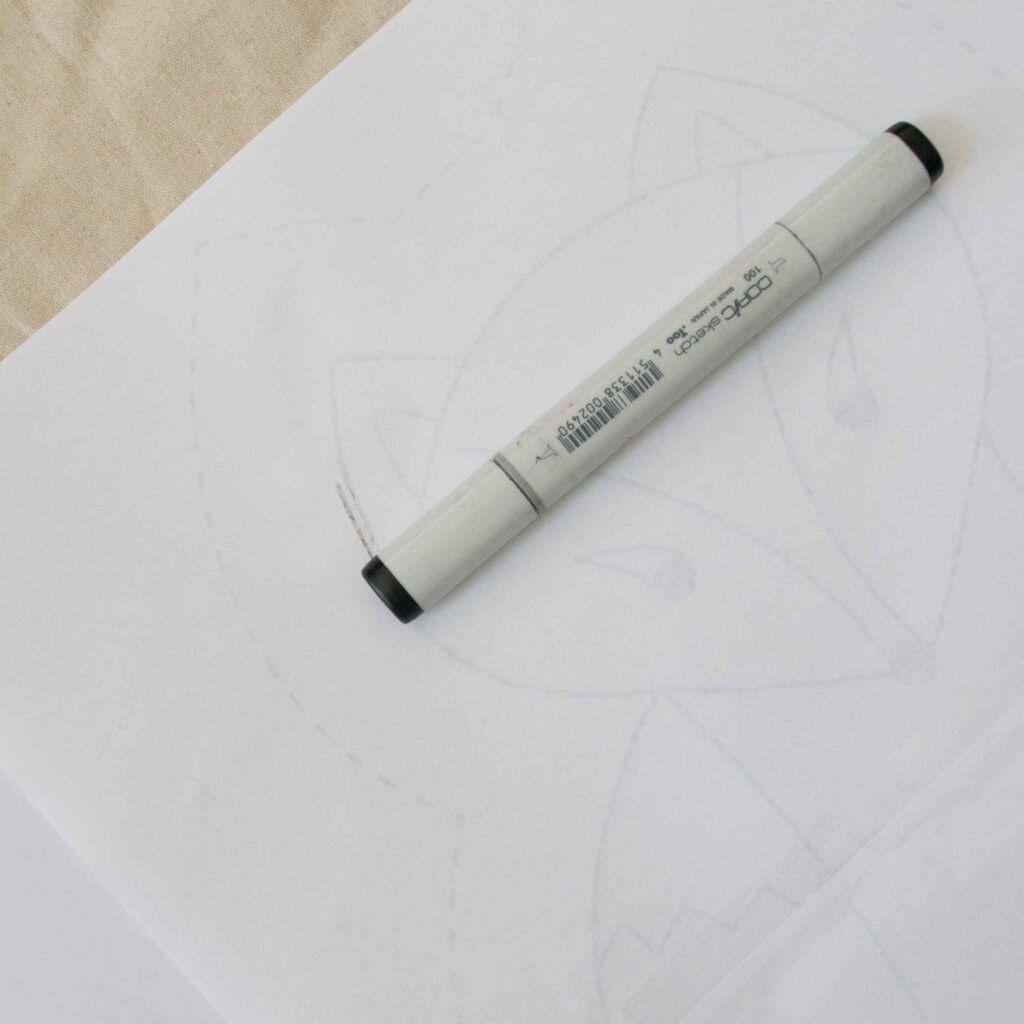
Draw your image onto the fabric
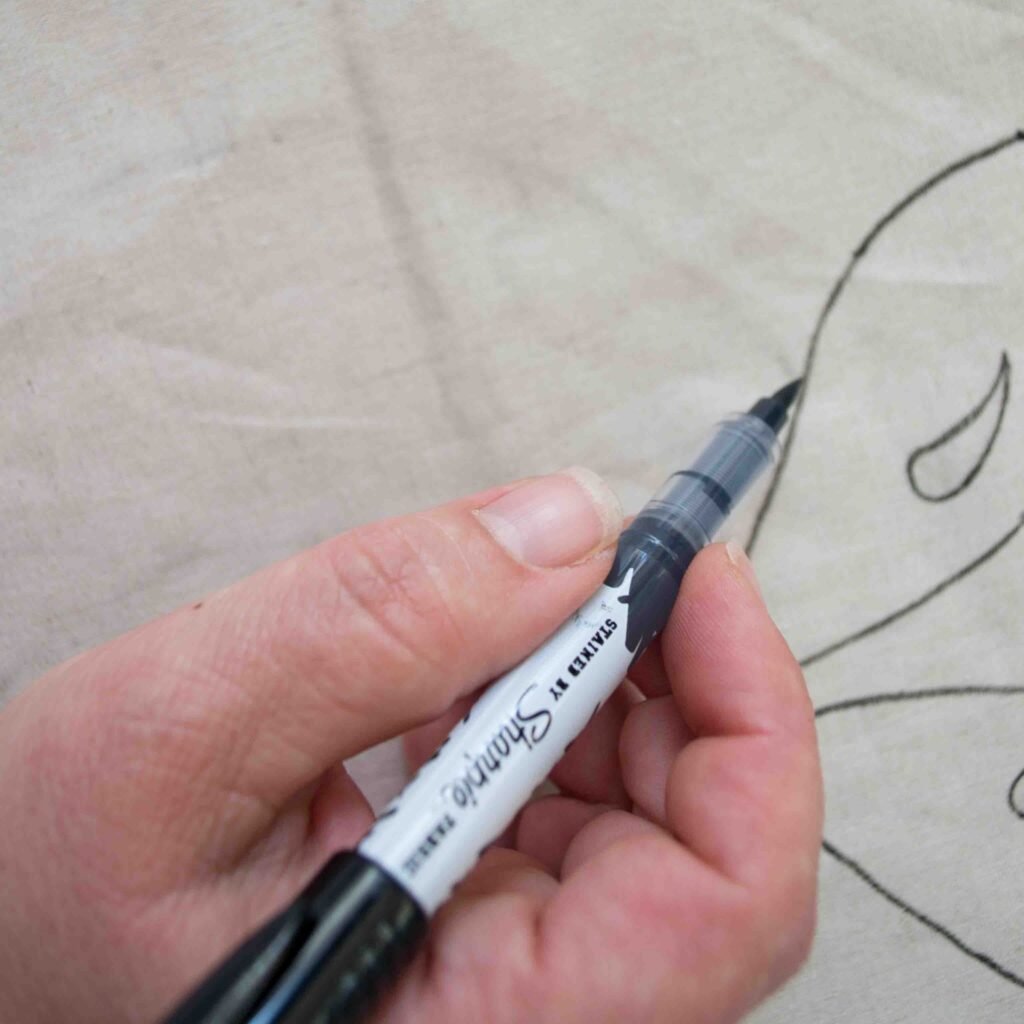
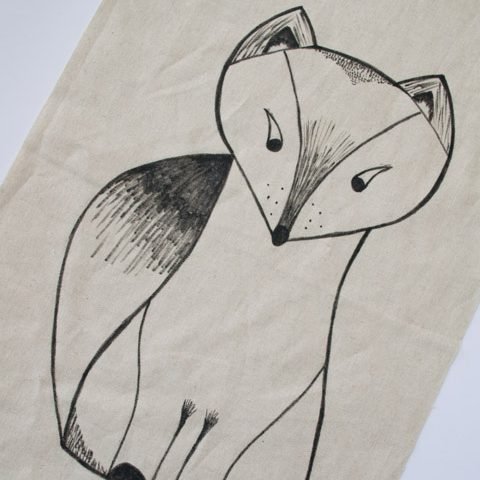
Use your fabric marker to trace over the lead pencil marks on your fabric. The lead will rub off quite easily while you are working so I suggest quickly tracing over the pencil with a fine line and go back when you have the full outline and thicken the lines as desired.
Embellish the image as you wish to add your personal touch. I went with a simple black drawing but you can use as much colour and pattern as you like!
Sew your softie
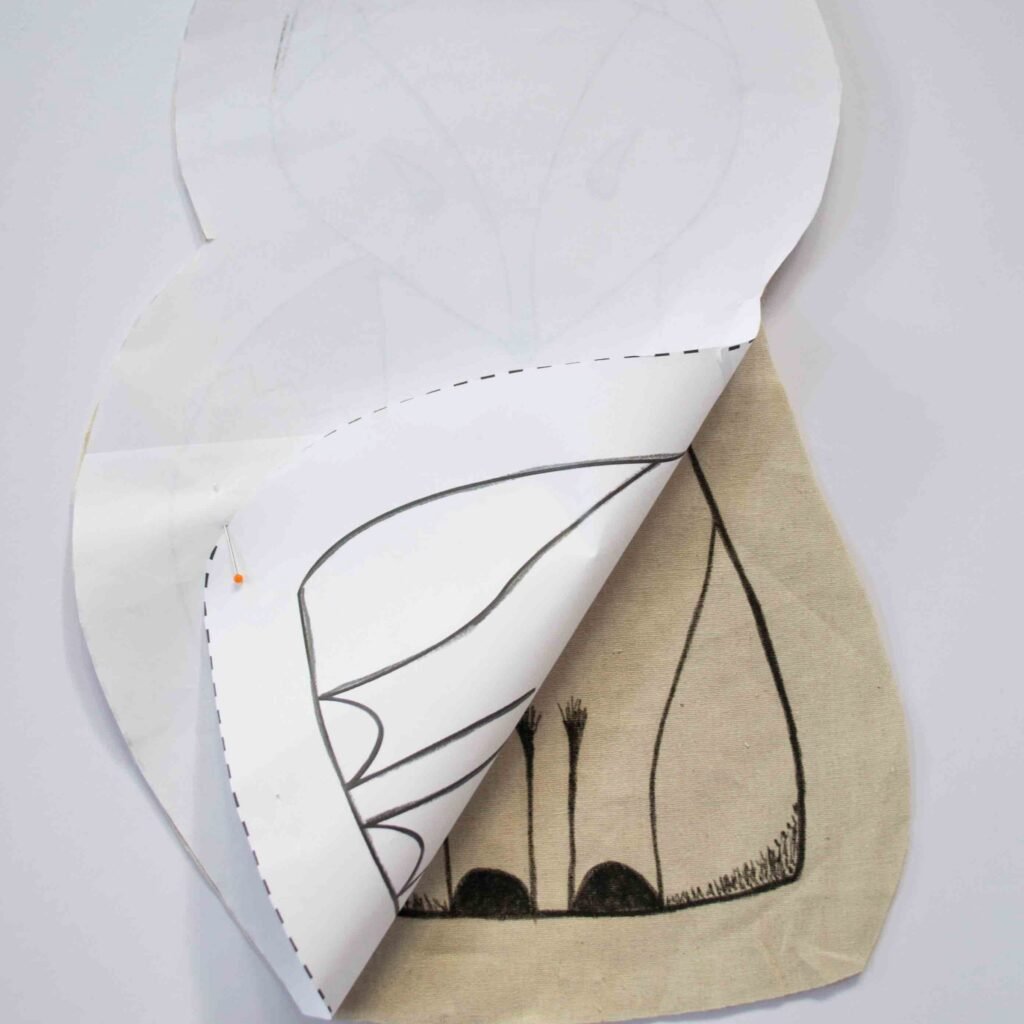
Layer your decorated fabric with the other half of your fat quarter – wrong sides together (so you can see your image).
Cut around the paper template on the dotted lines. Align the template on your fabric over your drawing. Pin it down through all layers and cut around the template through both layers of fabric.
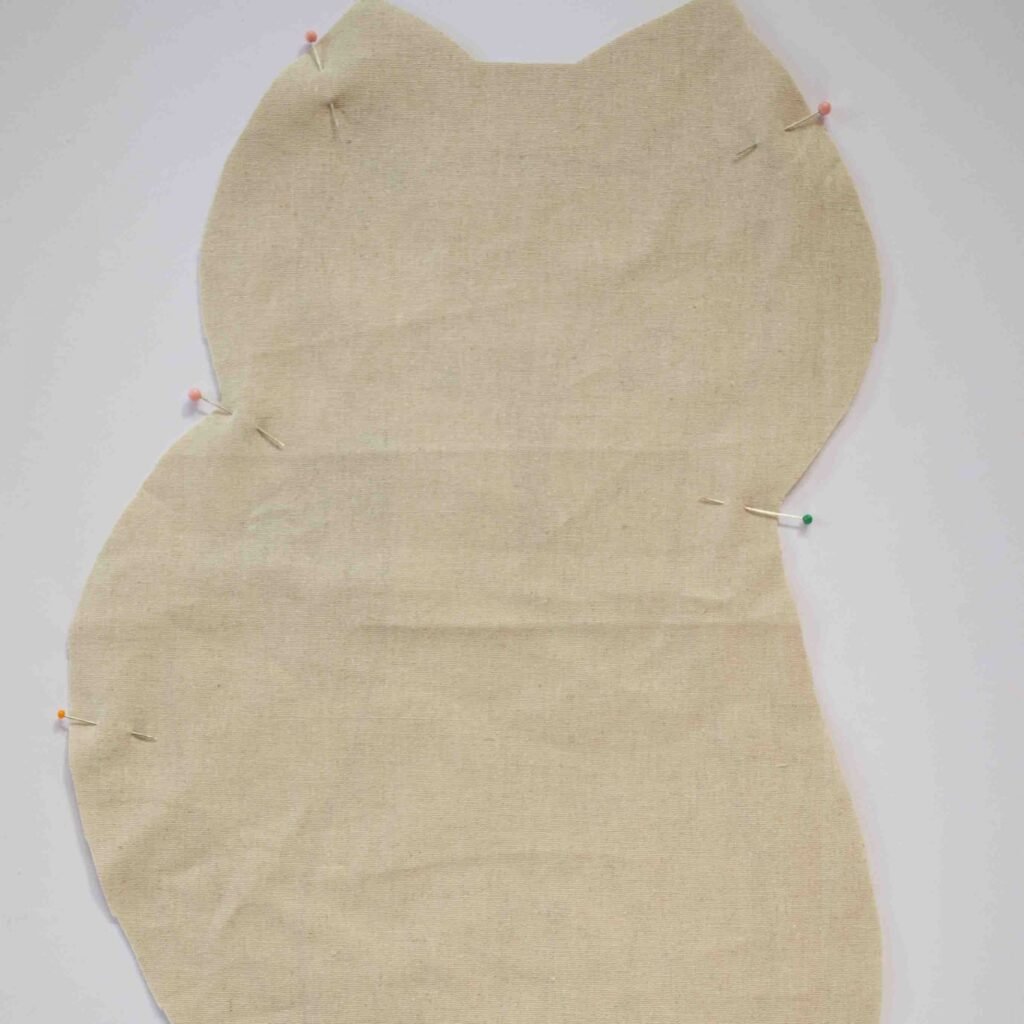
Turn your fabric pieces right sides together and pin them so that the edges are even.
Sew a 1.5cm seam around the whole shape following the contours. This involves sewing curves and pivoting at corners so check back on these techniques if you need to. Leave a 6cm gap at the bottom for turning and stuffing.
Trim the corners and clip the curves (with this fox pattern, this will mean clipping just about all the way around!)
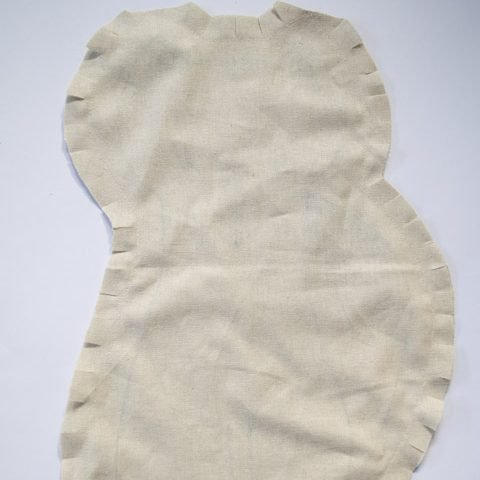
Turn your softie right side out through the gap. Poke the corners out carefully with a point turner (I use a chopstick). Press the seams, turning the seam allowance inside at the gap.
Finishing your fabric marker softie
If your fabric markers require setting in some way to become permanent, follow the manufacturer’s instructions to do this.
Fill the softie with soft fill (Tip: old pillows are a useful source of soft fill) until it had the desired plumpness. When filling, make sure you start by pushing fill firmly into the furthest parts first. It is hard to do this when the softie is full.
Pin the gap together with the seam allowance on the inside. Slip stitch the opening closed by hand.

Voila! Your Fabric Marker Softie is ready to play!

Pingback: Tutorial – Fabric Button Suffolk Puff Brooch - Rebecca Angela