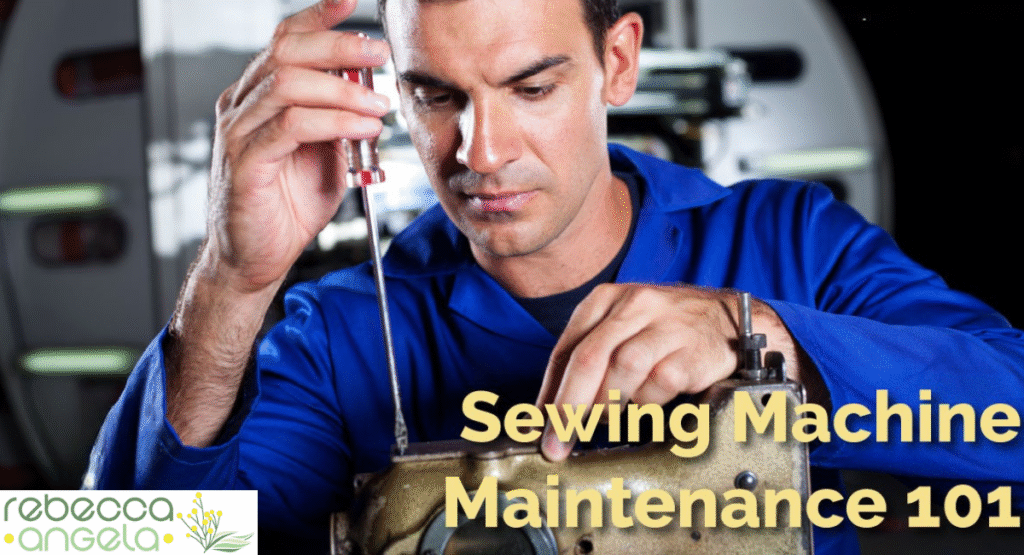
t is a day for check-ups today. I have had my annual dentist check-up and clean (I don’t have to go back – YAY!), my husband has had his doctor’s check up and I’ve just picked up my faithful old Janome from the Sewing Machine Doctor.

Attached to my docket when I picked up my machine was a ball of lint that had been removed from my machine. This opened up a conversation with Manivanh and Malcolm, the doctors themselves, about the things they have found in sewing machines when they have serviced them. They have pulled out bags of lint of course but Malcolm showed me a snack size ziplock bag full of thread that he pulled out of someone’s machine. He said he has also found buttons and even a pencil – a long pencil! Now I don’t know how that gets into a sewing machine but it made me think that perhaps we should have a post here about looking after your sewing machine.
I can’t say I am a paragon of virtue when it comes to caring for my machines. Cleaning it out usually happens when I get frustrated with it playing up. I have to say it doesn’t play up much (I have my fingers and toes crossed!) so it doesn’t get the attention it really deserves! Given it is such a faithful machine, I really should be treating it with more respect! Well it has been working hard lately so I thought I’d better take it for a good old service. Depending on how much you use your machine, this should be done every year or so – even if it isn’t actually misbehaving!
However, there is some other more regular maintenance we should be doing to keep our machines running well and also to save more costly repairs later. “A stitch in time” and all that – a pun perhaps but maybe appropriate in this case! The advice is that this cleaning should be done on the completion of every garment. And then there is the real world. Be disciplined if you can but in any case here’s a little list of things to keep in mind…
Cover It
When your machine is not in use, cover it up so that it doesn’t have to cope with general atmospheric dust – and pet hair – in addition to the inevitable lint from your sewing.
Keep It Dry
Also keep it dry. Rust is the enemy of any machinery with moving parts so don’t store your machine in the laundry, for example. A moist environment is asking for trouble.
Refer To Your Manual
Your sewing machine manual will have a section on caring for your machine. Mine has just two half pages but it does give instructions for taking out the bobbin case etc. Looking at your manual will give you confidence that you are allowed to get out the screwdriver and open things up a bit! Mine also states that my machine “never” needs oiling which is important information – but I will come to oil later.
Clean It Out
Unplug your machine before you go any further. Also take out the needle and remove the foot to allow easier (and less prickly) access to things.
Take out the bobbin and use a brush (usually the one supplied with your machine) to remove any lint in the bobbin holder. Also unscrew and remove the needle plate to get into the feed dogs and ‘hook race’ – the area under the needle that does all the magic of looping the sewing threads together. I usually have my vacuum cleaner out by this stage and suck as much gunk out with it as I can. Apparently you can get little attachments for your vacuum cleaner to do these little jobs but I never have. Somehow though I think it would be handy! But generally speaking the little brush and the vacuum cleaner do the job. Some websites recommend using compressed air to blow stuff out but the best advice I have seen is not to use compressed air because it can blow things further INTO your machine – not the desired outcome at all. Also the chemicals can be bad for the machinery (and the environment). Blowing with your own breath also runs the risk of pushing things further in. Breath is also, of course, moist so introduces the dreaded moisture to your machine (see “Keep It Dry” above!). Generally I think sucking out the lint and dust rather than trying to blow it away is the safer option.
Put It Back Together
I have never taken my machine apart any further than this. I leave the rest to the experts but if your manual shows you other areas to clean then get to it! However, it should go without saying – but I will say it anyway – whatever you take apart, make sure you remember how to put it back together again.
A Note On Oiling
As I said above, my machine manual says my machine will never need oiling. Advice you will find on the Internet recommends oiling your machine regularly. This may be true for some machines, especially, I imagine, the older ones. Now as I have said in an earlier post, my machine was a gift to me on my 21st birthday. I am 45 next week so my machine is a old girl too. Yet it doesn’t need oil. Make sure you check your manual and, if necessary, a qualified sewing machine professional before oiling your machine. Manivanh and Malcolm were also told me about the mess they sometimes have to clean up when a machine has been oiled too much (“Not working properly, surely some more oil will help!”) and what happens when the oil sits with the lint! What a mess!
If oiling is recommended, make sure your sew some scraps of fabric before sewing anything else so that any residue can be soaked up and removed before ruining your next project.
Take It To A Professional
As mentioned above, periodically take your machine for its own check-up to a recommended sewing machine repairer such as the lovely Sewing Machine Doctor in Belconnen, Canberra. If your machine is not stitching and running well even after you have done this maintenance and changed your machine needle and adjusted the tension you will need a qualified technician anyway. They are useful people to get to know. They might even tell you what happens when oil and lint sit together in the dark for too long!