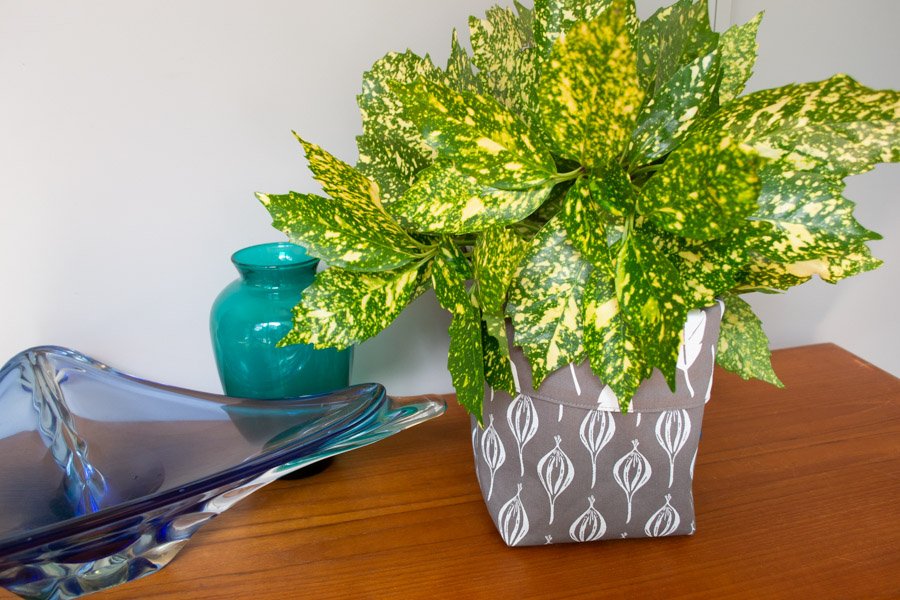
This square-based fabric bucket is great for extra storage. It is very quick and easy. This pattern will make a bucket with a base that is about 14cm square and approximately 20cm tall (although the height is variable by folding down the top a greater or lesser amount). It is easy to change the dimensions to make them larger if you desire.
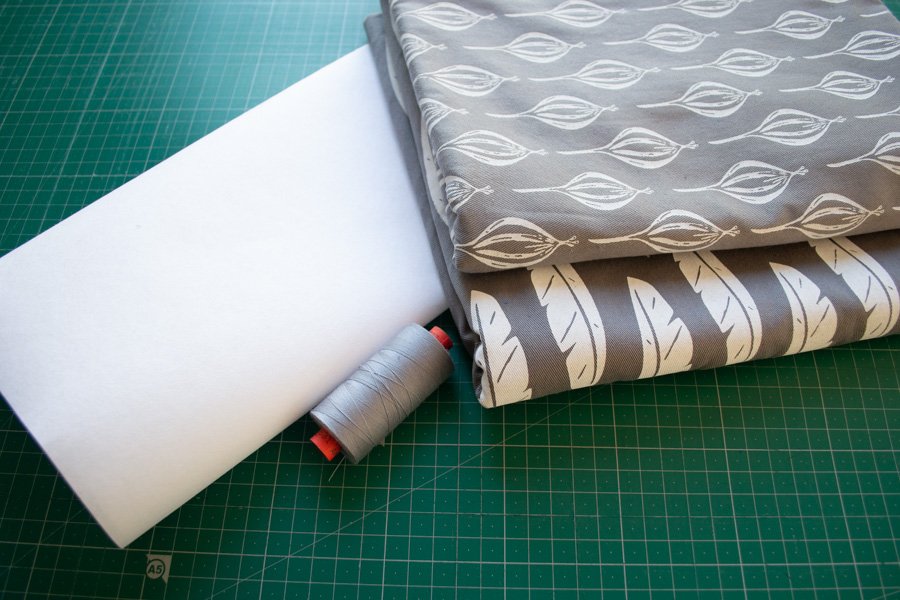
Materials:
- Two coordinating fabrics with some weight to them. Cotton drill or a heavier linen work well. You will need a piece of each approximately 70cm long and 40cm wide. NOTE: I recommend NOT using a one way print for this project because you will end up with your image upside down on parts of the bucket.
- A piece of medium to heavyweight fusible interfacing of the same dimensions.
- Coordinating thread
- Basic sewing kit
Instructions:
Preparation
- From one fabric, cut a piece for the outside of the bucket measuring 65cm long x 31cm wide
- From the other fabric, cut a piece for the bucket lining measuring 65cm long x 31cm wide
- Cut the interfacing to 65cm long x 31cm wide
Apply the Interfacing
Apply the fusible interfacing to wrong side of outer fabric. Don’t be shy with the iron. It takes quite a bit of heat and pressure all over the piece to get it to fuse thoroughly.

Sew the side seams
Fold the outer fabric in half widthwise and sew the side seams with a 1.5cm seam allowance. Accuracy with your seam allowances here will make fitting the bucket outer and the lining together much easier later.
Repeat with the lining fabric. Iron all the seams flat.
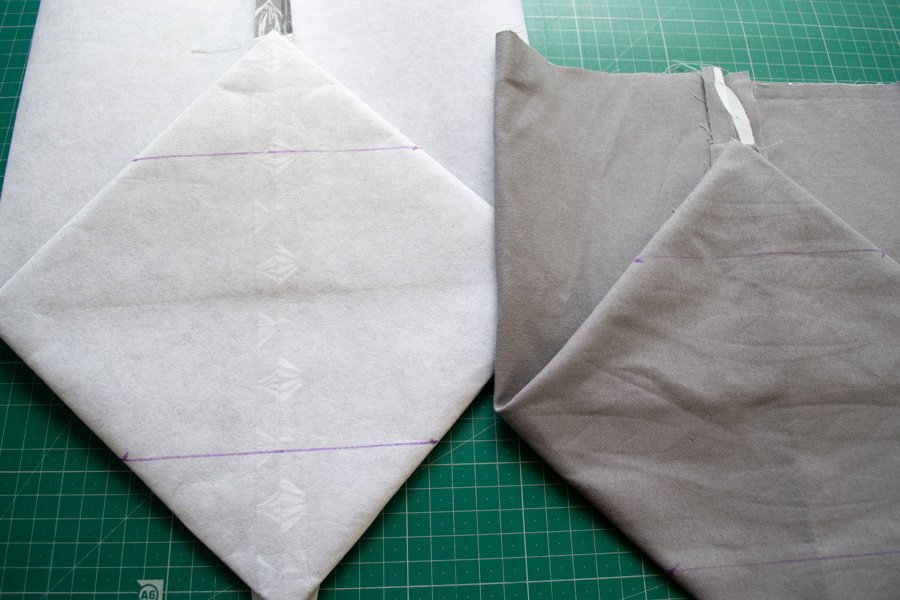
Create the base of the bucket
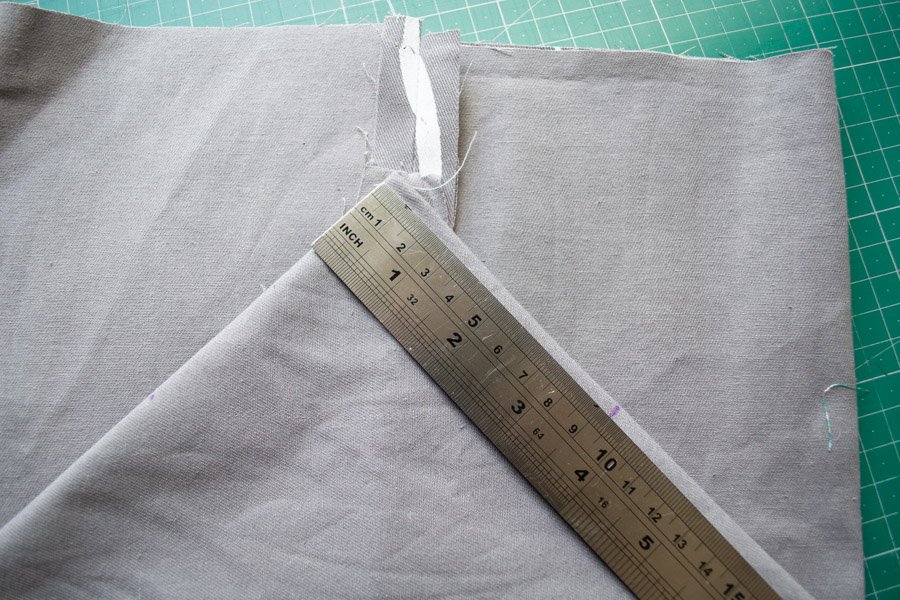
Lay the outer fabric down with the seams centred and matching forming a point at the bottom. The base of the bucket will be making a diamond shape.
Mark 9.5cm down along each edge from the seam corners.
Draw a straight line from point to point across the bottom to form triangles at the seam corners.
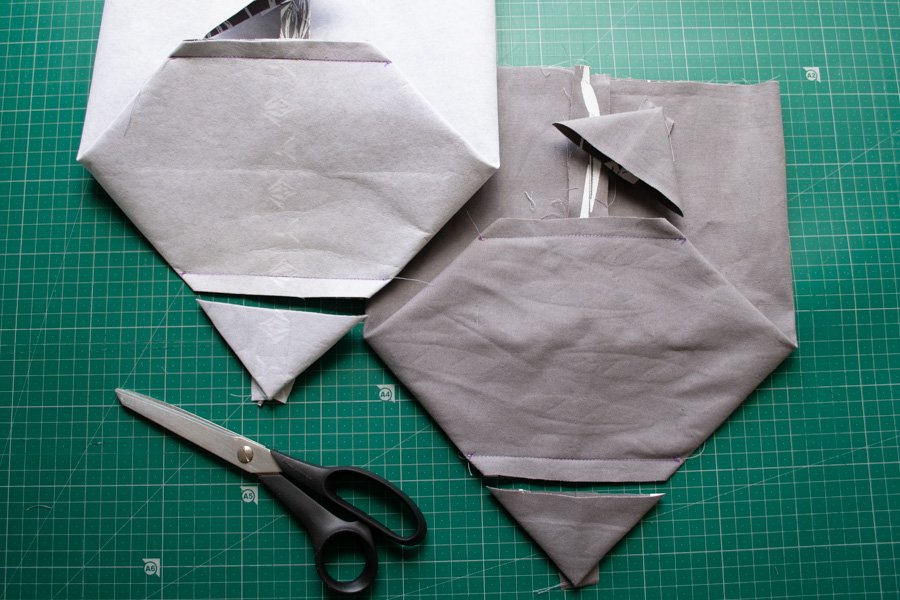
Sew along these lines keeping the bucket sides clear of the stitching.
Trim the triangles off the corners of the bucket bottom leaving a 1cm seam allowance.
Repeat with the lining fabric.
Stitch the bucket outer and lining together
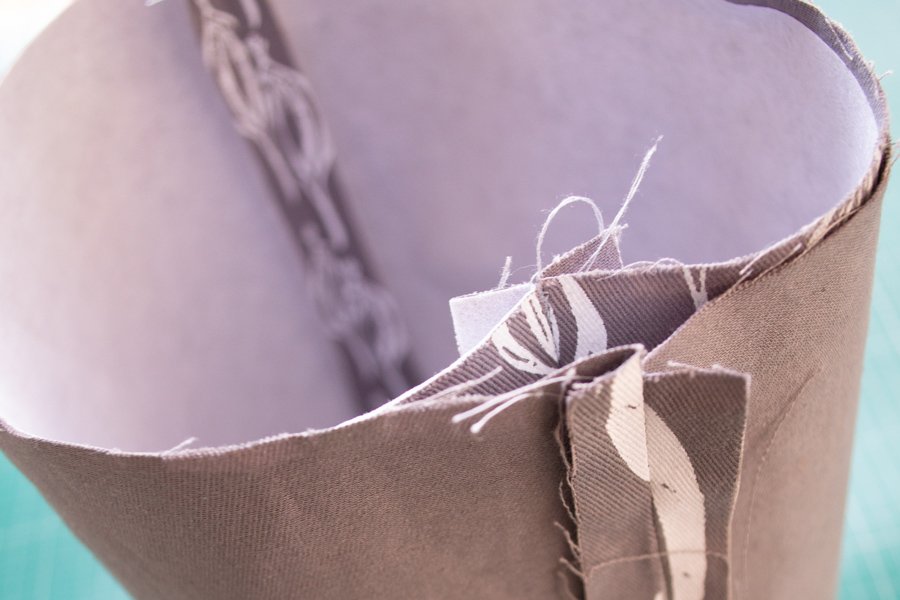
On the wrong side of the fabric, mark the points halfway between the seams on the upper edge of the bucket outer and bucket lining.
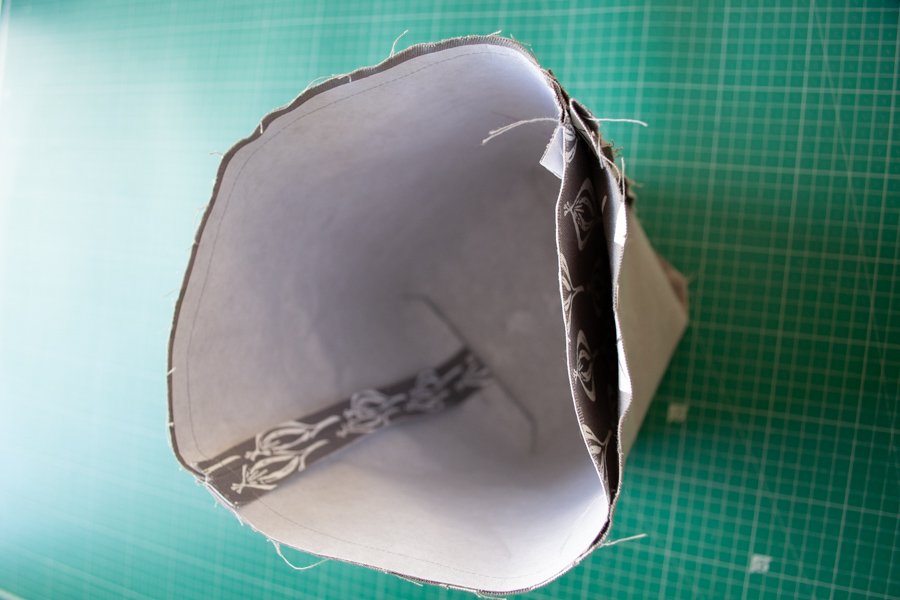
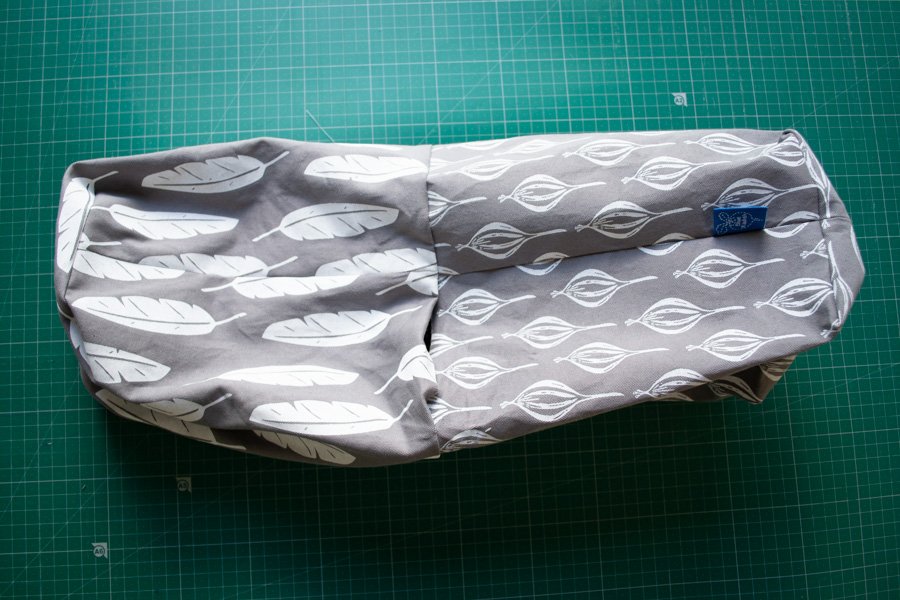
Turn the bucket outer right side out. Slip it inside the lining so that right sides are together. Line up seams and the halfway marks and pin the outer and lining together on the top edge easing the outer to the inner if necessary.
Sew the top edge of the fabric bucket with a 1cm seam but leave an 8cm opening for turning out in a minute. Backstitch at the start and finish of the seam to secure the thread.
Finish the bucket
Turn the bucket right side out through the gap.
Before pushing the lining to the inside of the bucket, press the top seam flat. This will help to create a neat finish on the top edge of the bucket.
Now tuck the lining to the inside and press again ensuring that the seam is even with no lining showing on the outside and vice versa. Press down the seam allowance in the gap opening.
Topstitch 5mm from the edge around the entire top edge of the bucket thereby sealing the gap.
Fold the top of the bucket over so the lining fabric shows about 4-5cm on the outside (or more if you need a shallower bucket).
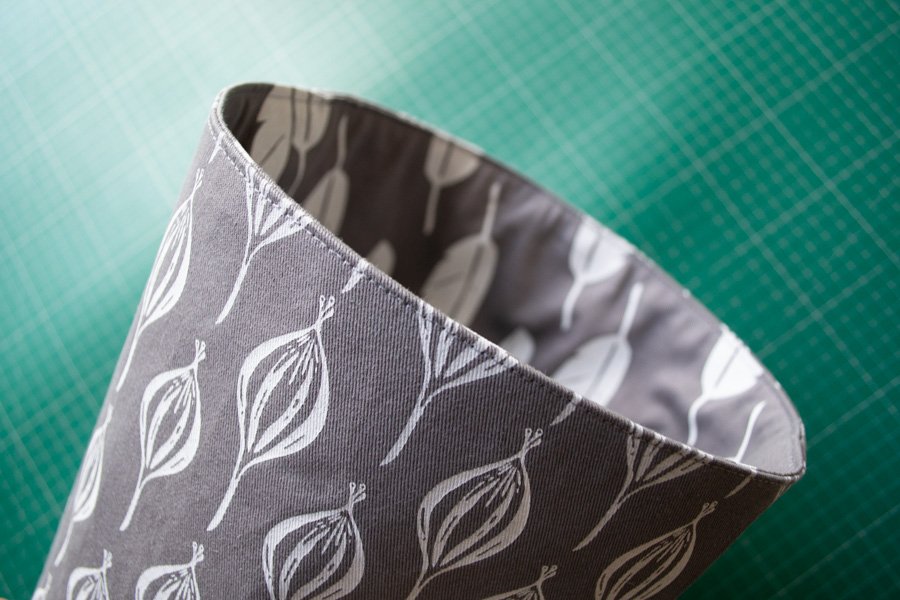
Ta da! Put your lovely square-based fabric bucket on display and those bits and pieces out of sight!