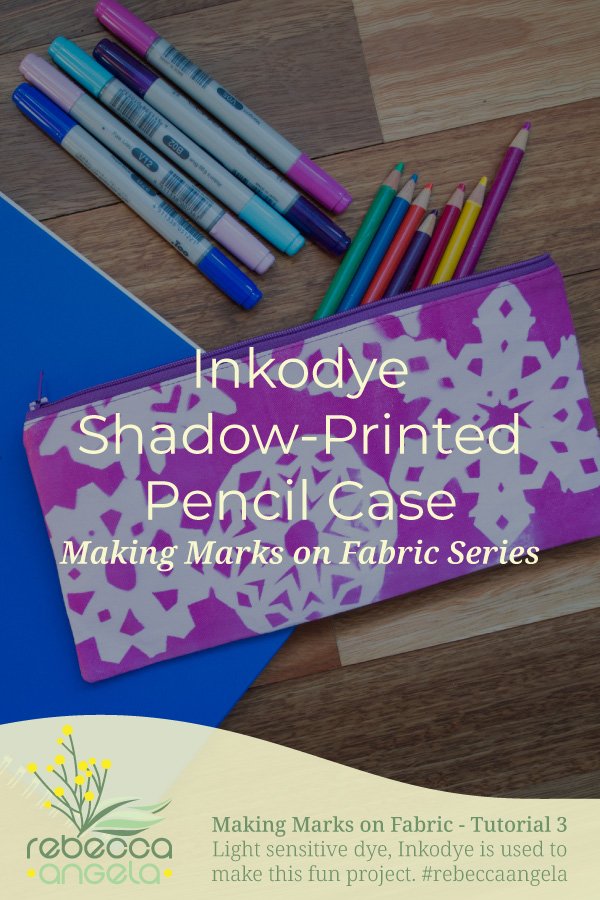
Next in my Making Marks on Fabric tutorial series is this Inkodye shadow-printed pencil case. This is a really fun project . Inkodye is a light-sensitive dye which I am using today to make a shadow print. The sewing side of the project is a simple zippered pencil case – which doesn’t have to hold pencils of course. Zippered purses are so handy in lots of different places, especially handbags! Don’t let the word zipper put you off even if you are a bit scared of zippers. This has to be the easiest way to insert a zip ever. Have a go at it. I promise you it isn’t hard at all and you’ll be proud to use your Inkodye shadow-printed pencil case.
Materials:
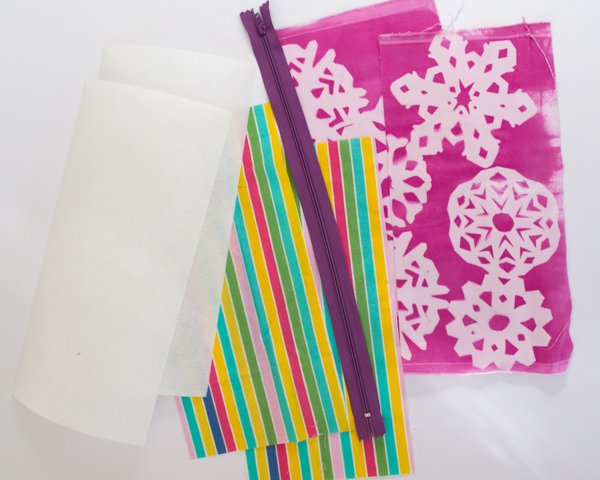
- white fabric 30cm x 30cm (you can use a light coloured fabric of course but remember your colour mixing principles)
- lining fabric 30cm x 30cm
- tiff fusible interfacing 30cm x 30cm
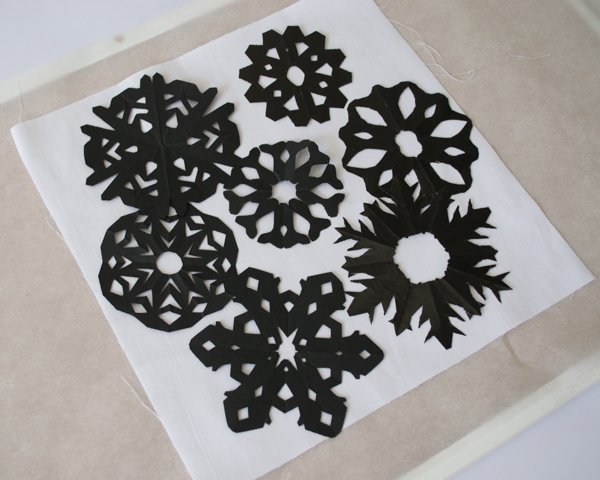
- items to create shadows (I cut out snowflakes from black paper following instructions found on Origami Way. I used black paper to ensure maximum opacity.)
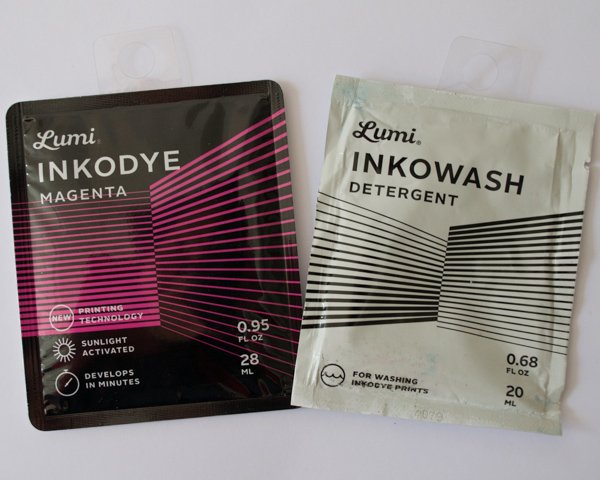
- Inkodye sachet in a colour of your choice (I used magenta)
- Inkowash sachet
- foam roller and tray
- flat board or thick cardboard large enough to accommodate fabric
- paper to protect work surface
- large piece of glass or perspex to hold down light items (I borrowed one from a picture frame)
- 30cm zipper
- coordinating thread
- basic sewing kit
Instructions:
Dying the fabric
Preparation
Cover your board with the paper.
Iron fabric so you have a flat surface to work on. Lay it down on your board.
Gather your shadow items and trial the layout to ensure you have enough (or not too many) items to create your print. When you are happy with your layout, you might like to take a snap of it with your camera so you have a reference to recreate it later.
Applying the dye
Wear protective clothing when working with the dye because any stains will be permanent.
You must work in a dark place while applying the dye. This, of course, makes it difficult to see what you are doing but a dim light, coming from another room, for example, will not cause you problems. I worked in my windowless garage and had the light on in the adjacent hallway.
The Inkodye sachet instructions suggest that you just need to snap the sachet in half, squirt the dye onto your fabric and spread with the stiff sachet. On my first attempt with this medium, I tried that and found the dye was difficult to distribute evenly.
So I tried something different this time. I squirted the dye onto a flat tray and, with the fabric flat on my board, I used a foam roller to coat the fabric with the dye. This resulted in a much more even spread of the dye but, as the dye is clear before being exposed to the light, it is difficult to see if you have covered the fabric completely – because you are working in the dark. So I still didn’t get a really even coverage but it was much better. If you are not using a foam roller to apply the dye, use a rag to blot the excess dye from the fabric to allow for a more even finish.
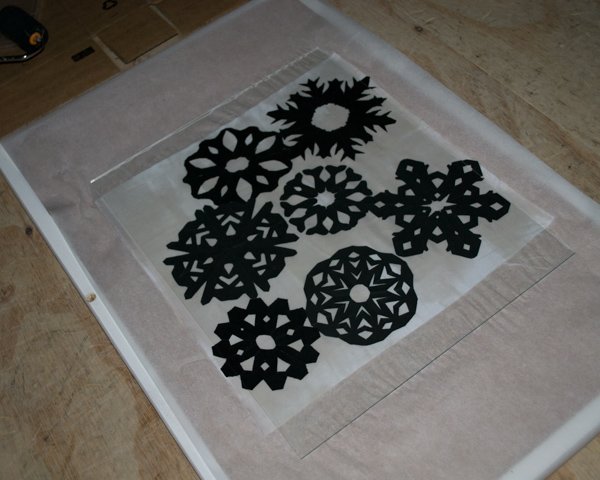
Exposing your image


Still working in the dark, lay out your shadow objects as desired on the wet fabric. If necessary, as it was for my paper cuts, place the sheet of glass or perspex over the objects to hold them in place (in case of a breeze for example). As soon as you move to a lighted area, your dye will begin to develop and any movement of the objects will result in a double image or not having a sharp image. If you are using three dimensional objects, the outlines will be a bit blurry but minimise this by keeping the objects as still as possible.
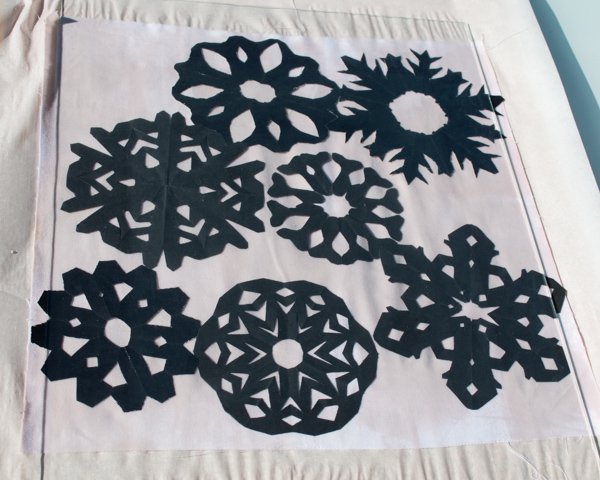
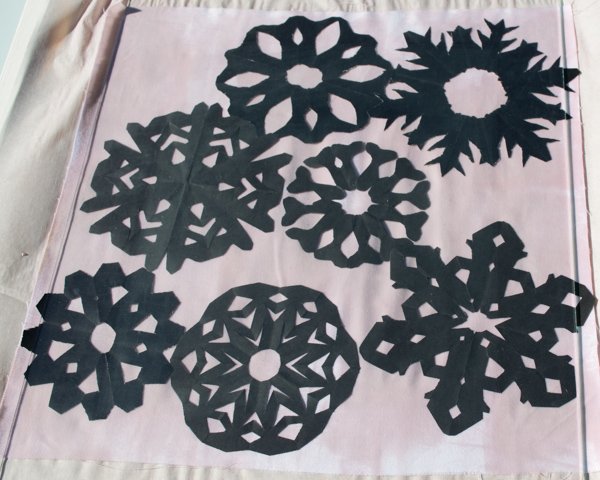
Carry your fabric on your board out to a sunny spot and leave it there for 10-12 minutes. On a cloudy day, you will need a longer exposure time. The dye will start to colour immediately but allow it to develop completely.
Wash and dry your fabric

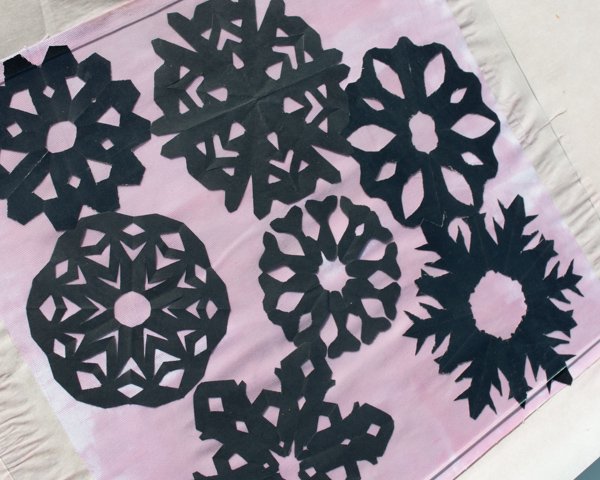
Take your board inside and quickly remove your objects and put the fabric into the washing machine. Wash using the Inkowash sachet. On my first attempt, I handwashed my fabric but, even though I washed it twice using half the sachet each time, it wasn’t sufficient to remove all the unexposed dye and my white areas developed some colour whilst on the washing line.

Using the Inkowash product is recommended. I was assured by the staff at my art store that I had to use it and that is probably because it contains a chemical to neutralise the colour developing properties of the dye. However, I would like to trial using a different detergent as the Inkowash is about the same cost as the Inkodye so pretty much doubles the cost of the project. One sachet does a full load of washing but the dye sachet only covers a 30cmx30cm square of fabric so unless you are doing a lot of fabric at the same time, it seems a bit wasteful to me. If you are game enough to try something else, please let me know your results!
Once washed, dry your fabric.
Sew the pencil case
Prepare the pieces
Cut dyed fabric, lining and interfacing in half to create pieces that are 30cm by 15cm.
Apply the interfacing to the wrong side of dyed fabric.
Insert the zipper
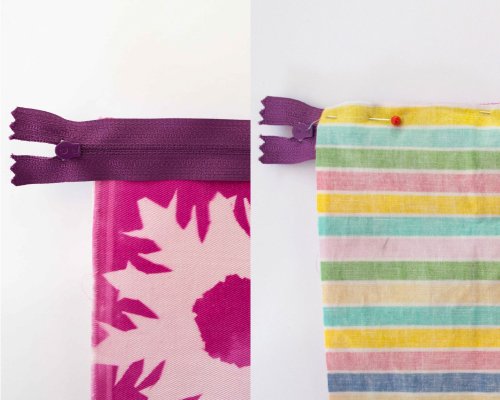
Lay your zipper along the long edge of one piece of dyed fabric with right sides facing, keeping the long edges even. This means you will have the right side of the fabric facing you and you will lie the zipper teeth down onto the fabric so you see the underside of the zipper. Let the zipper extend beyond the edges of the fabric. (My zipper was actually a 35cm zipper so I have a lot of overhang. This does not matter. It will be cut off later.) Lay the lining piece over the dyed fabric and zipper with right side down so that the zipper is sandwiched between the right sides of both fabric pieces. Pin through all layers.

Stitch the zipper in place with a zipper foot attached to your machine approximately 7mm from the edge of the fabric. The zipper foot will run alongside the zipper teeth underneath the lining fabric.
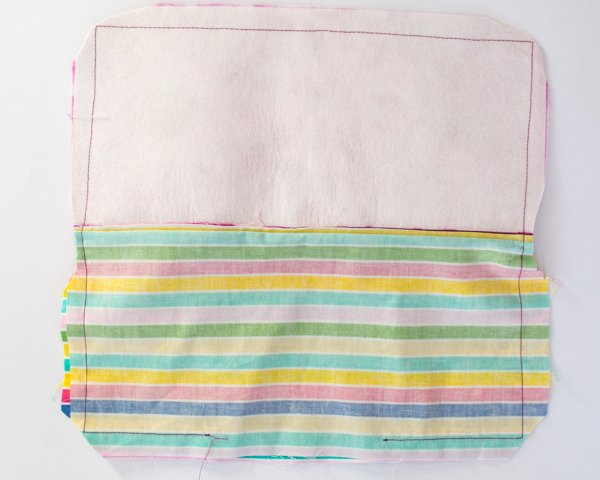
Press both fabrics away from the zipper teeth. The zipper teeth will be exposed and one side of the zipper tape will be enclosed between the two pieces of fabric.
Topstitch beside the fold about 5mm from the edge catching all layers. Make sure that the lining fabric is flat underneath by pulling it away from the zipper if necessary.

Now lay the other side of the zipper tape face down onto the right side of the second piece of dyed fabric and place the lining fabric right side down on top as before. Pin through all layers and stitch the zipper in place.
Press this side as before and topstitch like you did on the other side.
Sew the pieces together
Open the zipper halfway. This will be very important later.

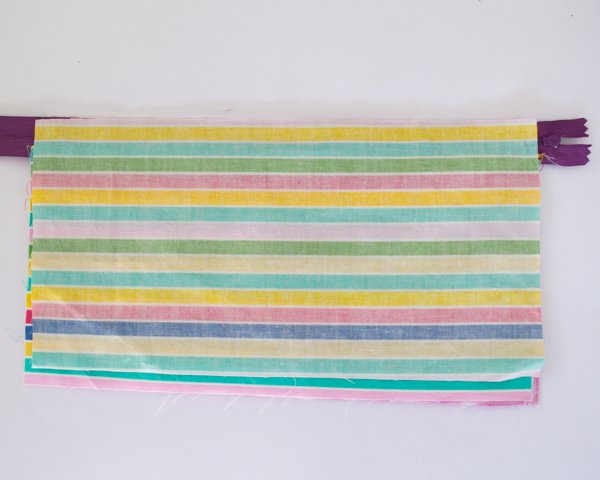
Align the edges of the dyed fabric pieces taking care to make sure the top fold near the zipper is lined up on both sides. Turn the zipper tapes toward the lining fabric. Pin the fabric together. Align the edges of the lining fabric in the same manner and pin.
Starting at the bottom of the lining and about 10cm away from the side, sew around the edge of the pencil case with a 1.5cm seam allowance. Sew straight across the zipper tape when you reach it. Stop about 10cm along the bottom from the second side of the pencil case in order to leave a gap for turning the pencil case the right way out.
Finish the pencil case
Trim the corners and cut off any excess zipper on each side.
Turn the pencil case to the right side through the gap you left. Push the corners out carefully with a point turner or chopstick. Press the seams flat, tucking under the seam allowance of the gap in the lining. Stitch across the bottom of the lining to close the gap. Tuck the lining inside the pencil case and give it a final press.
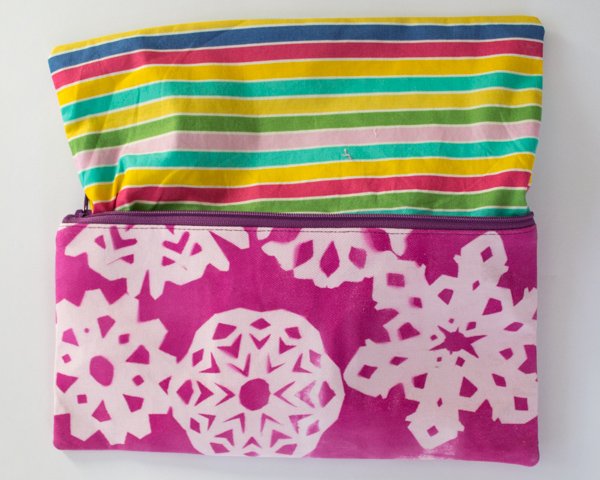
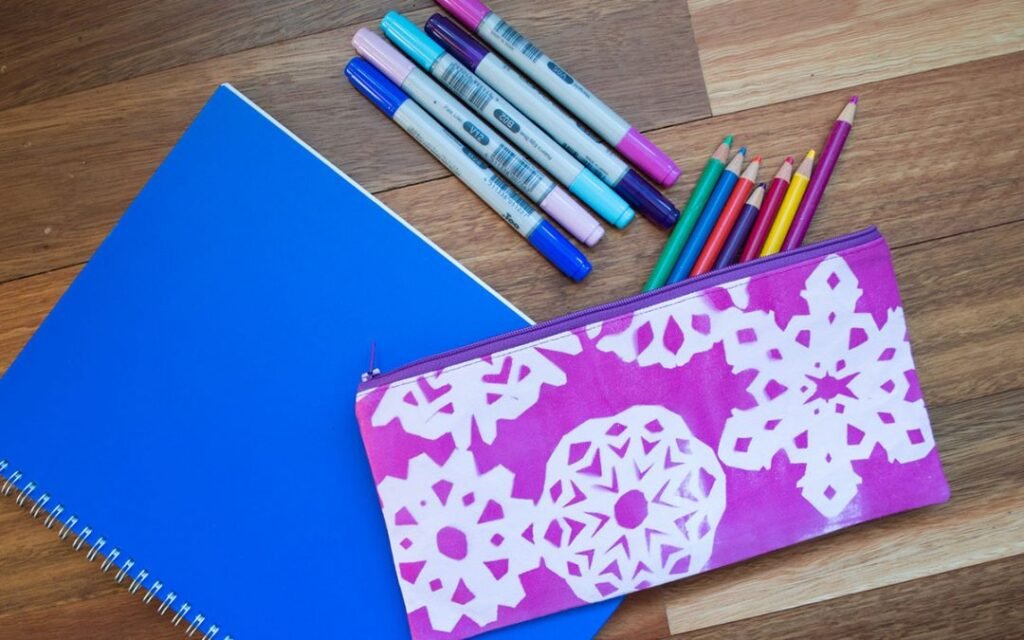
There you have it! Your Inkodye Shadow-Printed Pencil Case. Fill it full of your favourite drawing materials and you are on your way!