In this blog post, I want to issue a warning about printing on fabric with an inkjet printer. In Ten Fun Ways to Make Marks on Fabric I mentioned printing fabric with a general-purpose inkjet printer. I tried this and I damaged my printer. Let me tell the story…
Threads Jammed the Feed Mechanism
This project started off so well.
I got really excited about using my home office inkjet printer to make marks on fabric. But partway through things went horribly wrong. The printer jammed up and I found that loose threads that had frayed away from the fabric had got caught around the feed mechanism in my printer. With some fiddly work with a pair of long tweezers, I managed to clear the debris in order to get the printer working but I fear that there will forever be cotton threads trapped in my printer. Surely not a good thing! Indeed, it continued to misbehave even printing paper after that.
So, all in all, I conclude that this is a risky method for making marks on fabric! If you have a cheap, old printer to use for this purpose, you might still be interested in giving this a go. I will tell you how I did it but proceed at your own risk! Because I am not wholeheartedly recommending this method, I’m not going to set this out like my usual tutorials. Practically Functional has a tutorial if you want a more step-by-step method.
How I Printed on Fabric with My Inkjet Printer
Stiffen Fabric with Freezer Paper
I managed to source some freezer paper, something that is not readily available in Australia. Some specialist sewing and craft stores in Australia stock it. Amusingly, although this is a supermarket product in the States, the crafting properties of this stuff are even listed on the box so the manufacturers have obviously twigged to the diverse demand for it.
Freezer paper has a plastic coating that, when ironed, adheres temporarily to another surface – in this case, fabric. To get a floppy thing like fabric to feed through a printer, it has to be stiffened somehow. There are a few ways to do this but freezer paper is simple – if you can get your hands on it!
Basically, I made a freezer paper backed piece of light coloured calico fabric the same size as the largest paper my printer will take, A4. I cut a piece of freezer paper and fabric a little larger than I needed and then used a sheet of A4 paper as a guide to cut it down to size with a metal rule and rotary cutter. In theory, I could print a longer piece of fabric so long as it is the A4 width.
Create Artwork and Send to Printer
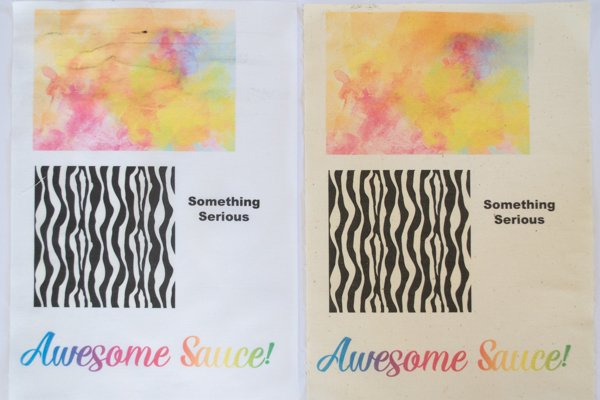
I first created a test image at A4 size to see what the print quality would be like. It was impressive as you can see in the photo above.
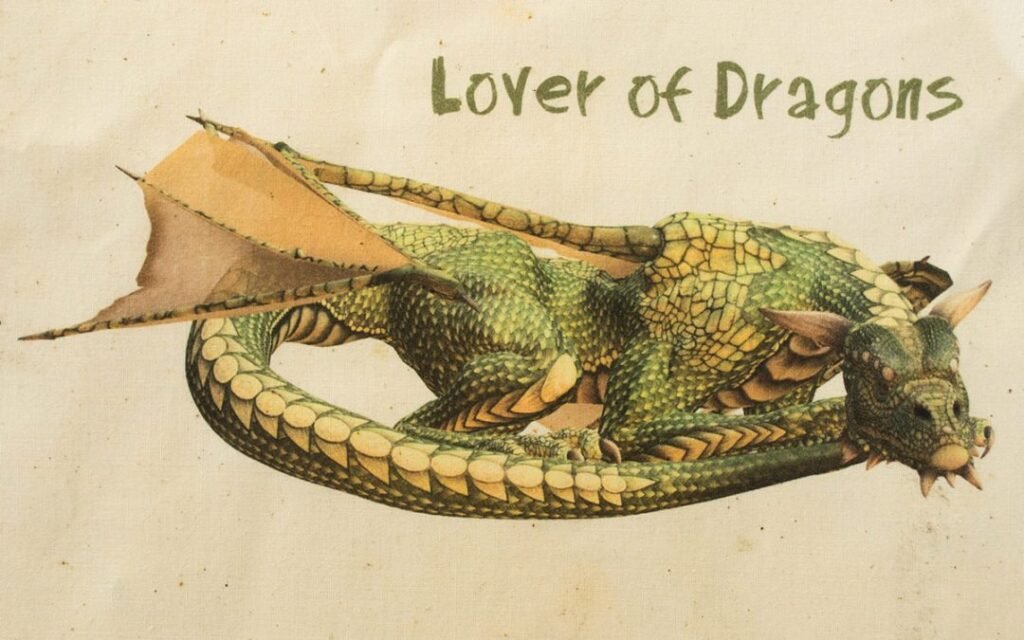
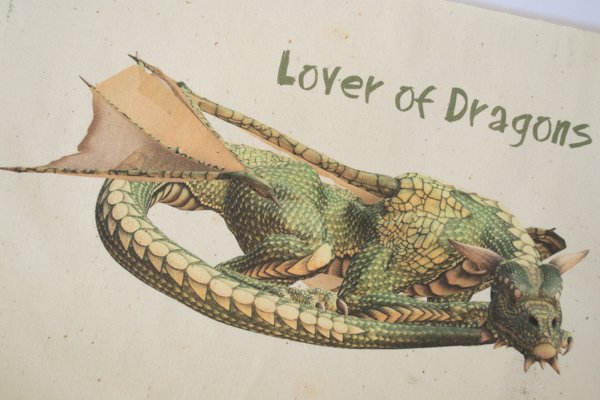
I then created a Game of Thrones inspired dragon print with an image I bought from Adobe Stock.
To print them, I used the highest quality print settings I could and also set the printer to print on thick paper. I used the manual feed function on my printer to feed the stiffened fabric into the printer. Making sure the leading edge didn’t curl was the most difficult part about this. I gave it a helping hand as best I could.
I sent my document to print and the fabric came out the other end printed with my artwork. (This is the simplified version which doesn’t include the intervening step of having to remove the stray threads from my printer feed mechanism and the associated cursing).
I peeled the freezer paper from the back of the fabric and I had my printed fabric.
Set the Ink in the Fabric
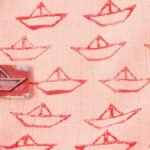
As I planned on washing the finished item (a bag) I had to set the ink in the fabric. It seems that just vinegar is sufficient for this purpose so I made a vinegar bath and soaked the fabric for about 5 minutes. After rinsing and drying, it was ready to use.
Great Result – Except for the Broken Printer
I really loved the results of printing fabric with an inkjet printer and, if it hadn’t damaged my printer, I’d be up for doing a whole lot more of this. I can imagine a whole lot of uses for it. However, I’m not going to risk my relatively new printer/scanner again. It is, though, almost worth seeking out an old inkjet printer just for this!
So, if you are game to try this, I’d love to hear about it. I love Practically Functional’s tutorial for making your own fabric labels for your handmade goodies. But, please heed my warning, and don’t sacrifice your good printer. A better option might be to send your designs to a digital fabric printing company like Spoonflower.